
Narrative Builder Tutorial
⏰ Time required: 20 mins to 1 hour
In this tutorial, you will learn how to prepare for an incident review meeting using the Narrative Builder. You will review your Slack transcript to create a Narrative timeline of your incident and prepare questions to help direct an incident review.
Import DataIf you haven’t already, use Slack to import incident data into Jeli using the
/jeli importcommand. You can also import data from additional Slack channels. Please read Slack Integration | Jeli for more information.
Narrative Builder View
Jeli’s Narrative Builder makes it easy to tell the story of how an incident happened, while taking into account multiple points of view. The Narrative Builder allows you to use primary data as evidence for the building blocks of your narrative. This allows for a blame-aware analysis of the incident that looks at what actually happened, rather than focusing on counterfactuals.
TipWe recommend spending some time creating your Narrative before your incident review meeting. We have seen that spending some time prepping helps with making the (expensive) meeting a productive one.
Choose Supporting Evidence
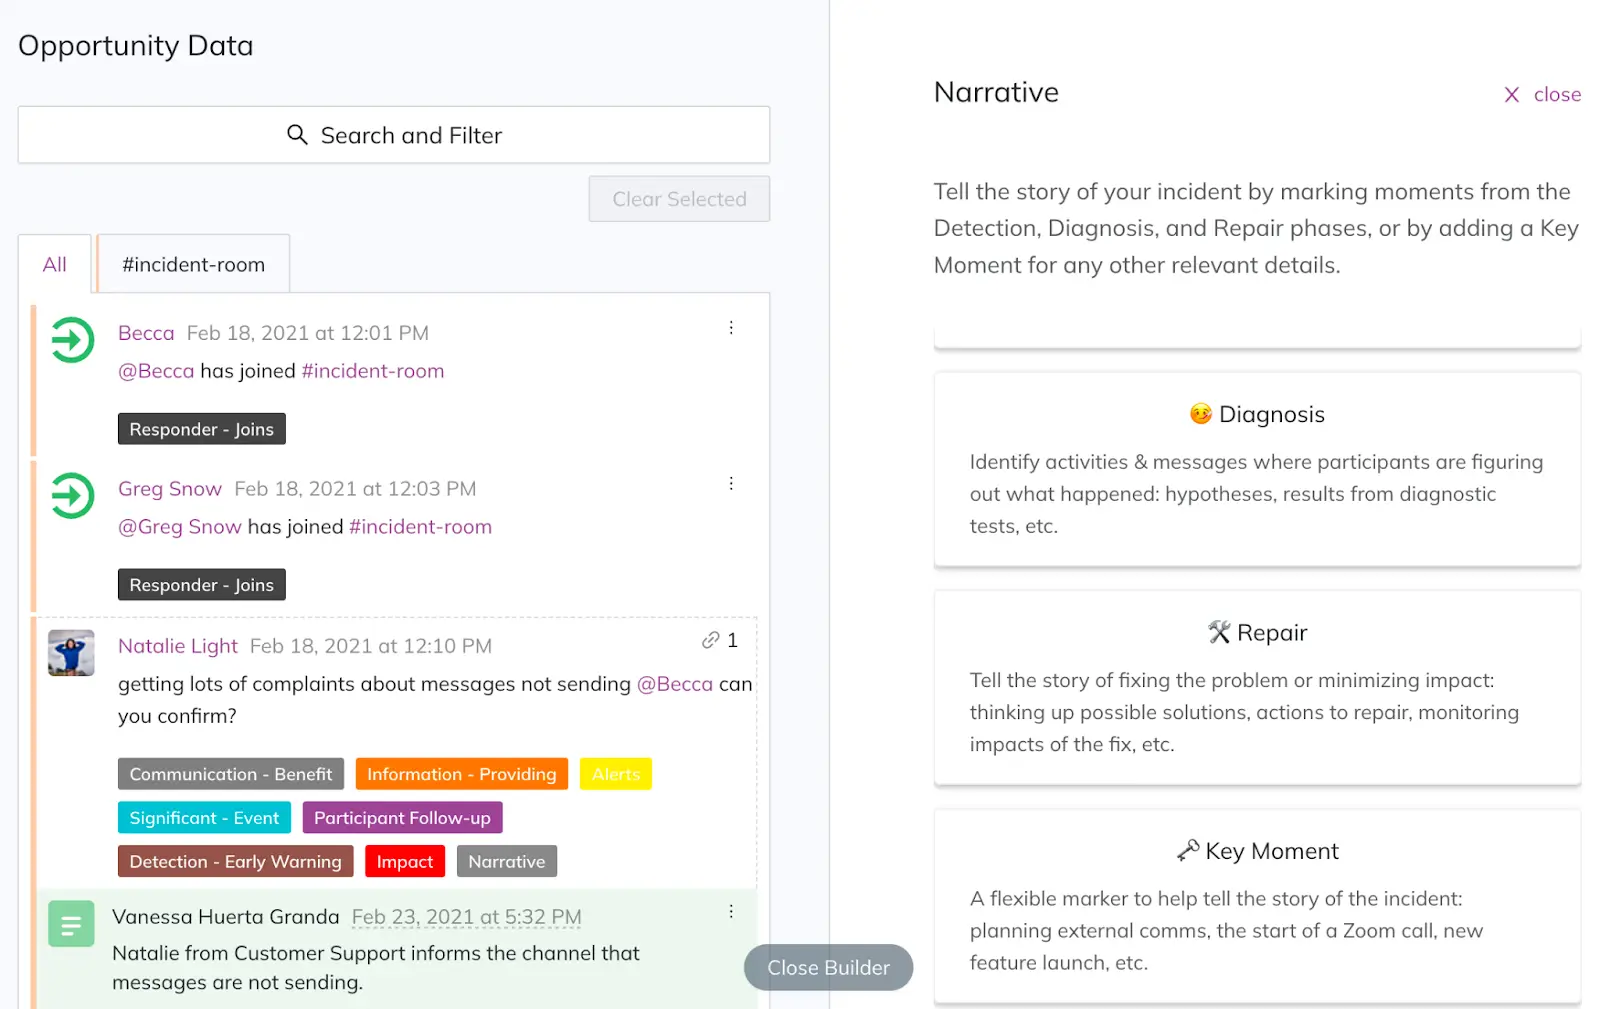
Step 1: Evaluate Messages
Review your transcript line-by-line and ask yourself if each message is important to tell the incident's story. You should also check to see if each message fits within one of the marker types: Detection, Diagnosis, Repair, and Key Moment. If so, choose the appropriate marker to categorize the message as Supporting Evidence.
Recommended QuestionsSome example questions to ask depending on the marker type are:
Marker Type Suggested Questions Detection - How were we alerted? Where did we see this alerting and why was this brought to our attention? - Who knew at the beginning and how did they find out? - Who did they bring in and how did they know to do this? - What background information did they have on this topic? Diagnosis - What were responders looking at and why? - What did the problem mean? What was the impact? - What did people think was happening? - What did they try to do? What tools did they use for this? - How did they communicate this with each other? Repair - What were some possible solutions to the issue? - How did responders arrive at this solution? What constraints did they have? - How did they confirm if the solution worked or didn’t work? Key Moment - How did responders collaborate? - Was anything confusing? - Did the communication methods change? - Did they share information with outside parties? - Did people learn something new? Please read Event Markers for more information.
Step 2: Organize Messages Under Narrative Markers
You may include multiple pieces of evidence under the same marker if they all relate to the same point.
TipWhen choosing a narrative marker, read the messages around it. If multiple messages explain what is happening during that part of the story, they should be included as well.
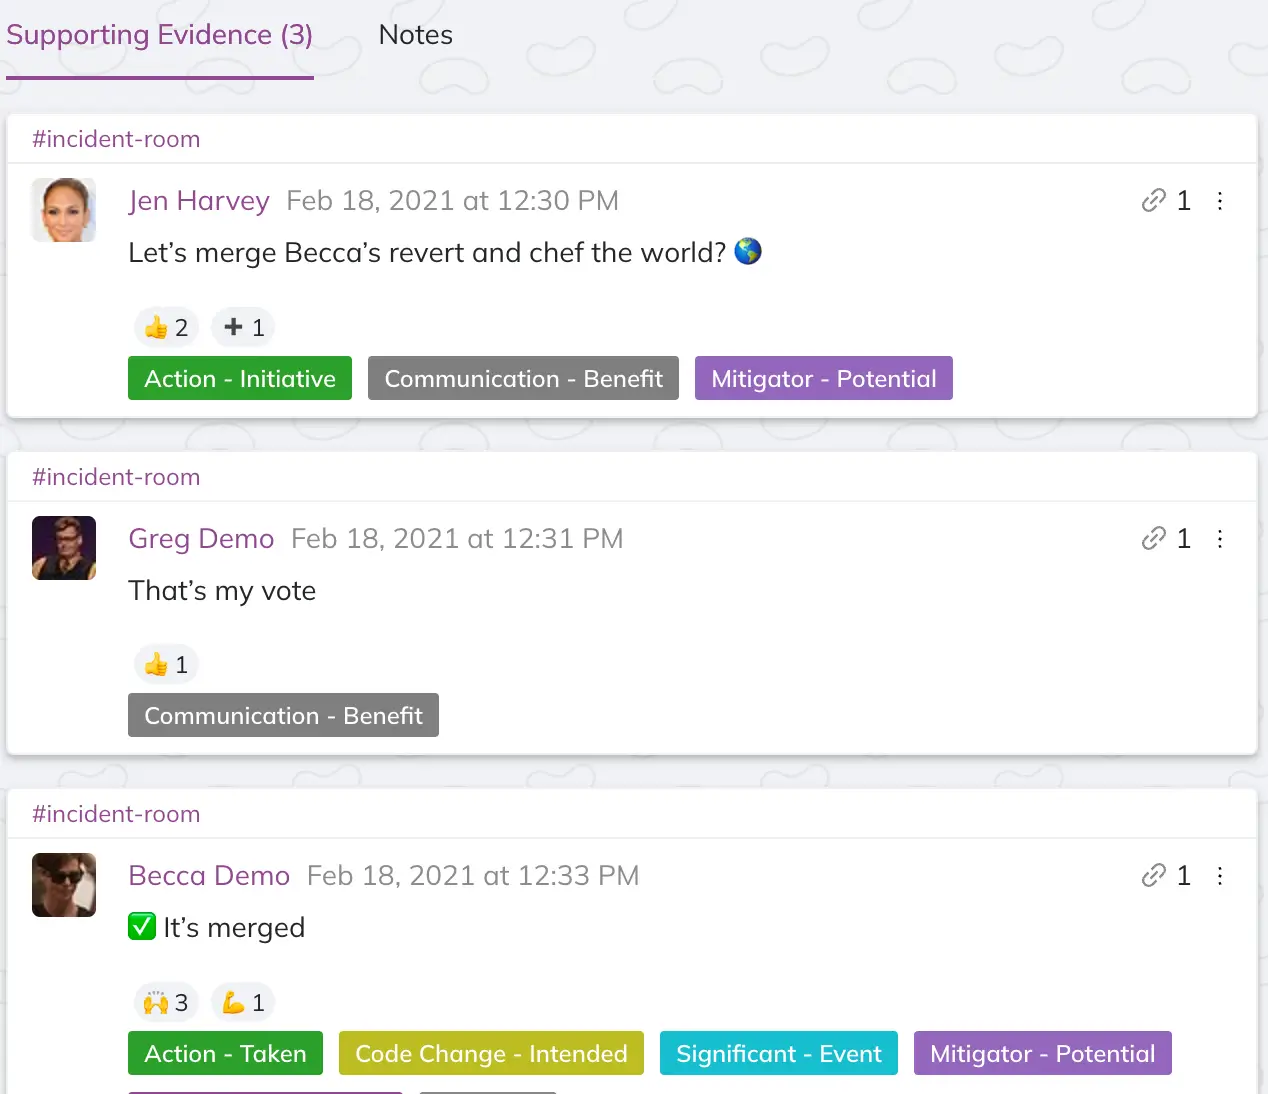
Multiple messages under one narrative marker
Step 3: Add Supplemental Evidence
You can also add evidence from outside of Slack messages by clicking Add supplemental evidence when entering a narrative marker's details. Here you can add images, links, or text to offer additional context to the incident's story. This might be screenshots of graphs, links to a specific query, or a copy-and-paste of relevant logs.
Add supplemental evidence
TipAs a general rule, we recommend using multiple pieces of evidence under a single marker if you can summarize what is happening within two sentences. Any more is a signal that you may want to break it out into separate markers. For example: A conversation about a team deciding to revert a change may include multiple messages as supporting evidence under the same Repair Marker.
Update Marker Details
Opportunity Start and End Time
After you’ve added supporting evidence to the narrative, you may update the Opportunity Start and End Times. These are automatically generated based on the first channel ingested into the Post-Incident Review. To change this information, click , select a new date and time, and click OK.
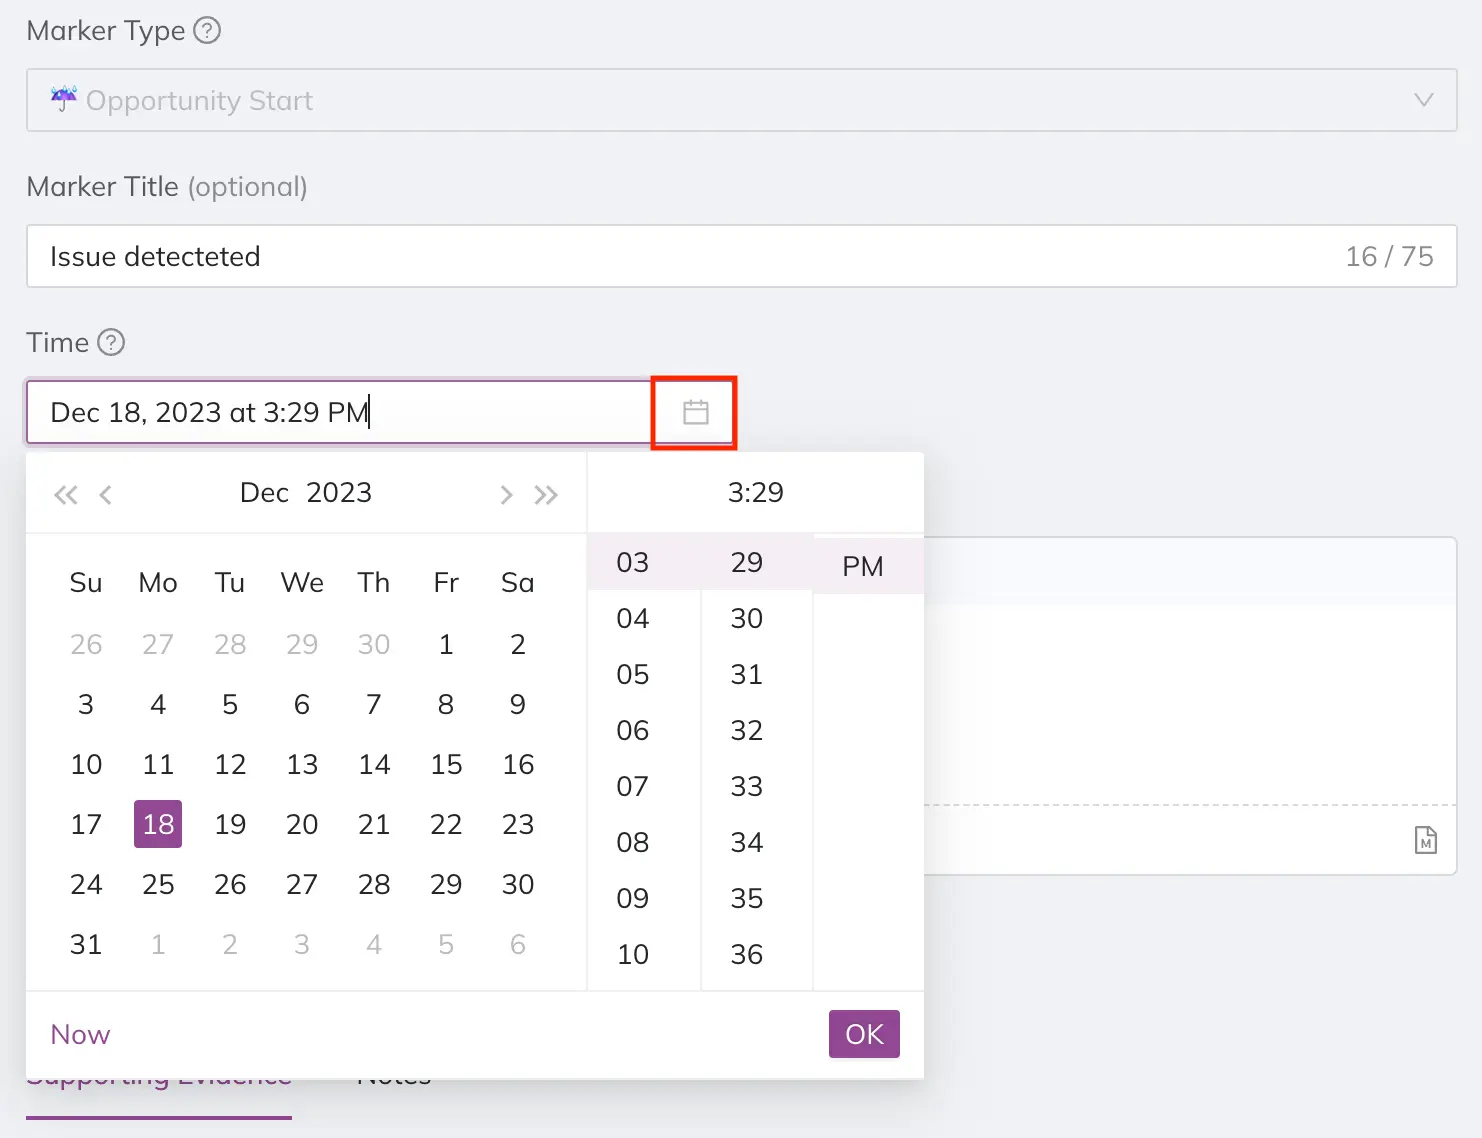
Adjust a narrative marker's date and time
Write a Summary
Update the Summary field with a few sentences describing what is happening in the supporting evidence. For example, SREs and Software Engineers decide to move forward and revert the change made earlier in the day.
TipWe recommend using plain language, as if you are telling the story of what happened to a coworker or in an incident review meeting.

Narrative marker details
Add Notes
We recommend using the Notes section to ask any questions that arise based on the supporting evidence. Even if you think you know the answer, if something is unclear it is helpful to ask it during the review meeting so others can learn from it.

Notes in a narrative marker
Edit or Delete a Narrative Marker
While building your narrative, you may need to edit or delete a marker:
Edit a Narrative Marker
To edit an existing marker:
- Navigate to your preferred Post-Incident Review, select the Narrative tab and click Edit narrative.
- Hover over the menu next to a marker and select Edit. This will open the Narrative Marker Details modal.
- Make your desired changes and click Done.
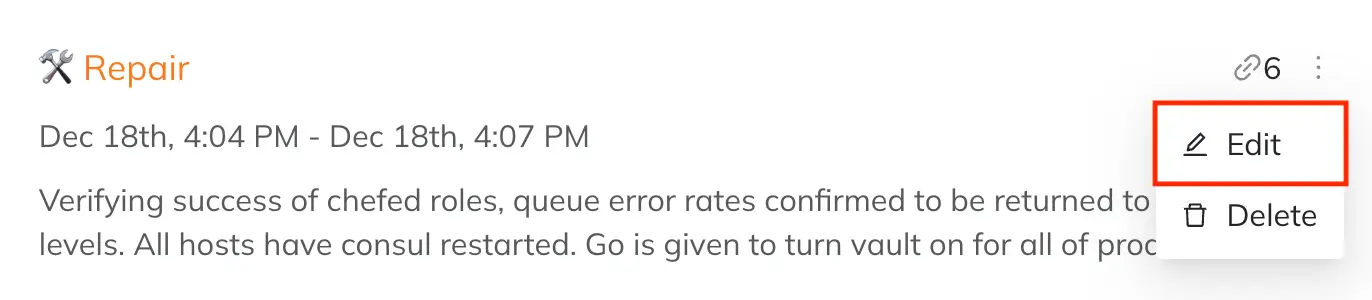
Edit narrative marker
Delete a Narrative Marker
- Navigate to your preferred Post-Incident Review, select the Narrative tab and click Edit narrative.
- Hover over the menu next to a marker and select Delete.
- In the confirmation modal, click Delete marker.
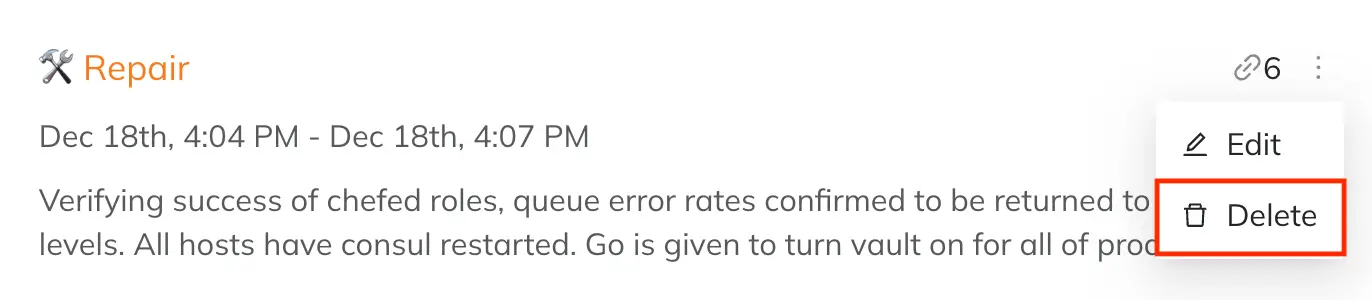
Delete narrative marker
Add More Markers to Help Tell Your Story
You can choose as many markers as you need to tell your story. You do not have to go in a linear detection-diagnosis-repair manner, either. Your focus may jump forward or backward as more information becomes available.
For example, halfway through the repair phase you may discover that another component is impacted, and another team's expertise is needed to progress with the investigation.
The following example highlights rich insights associated with each marker:
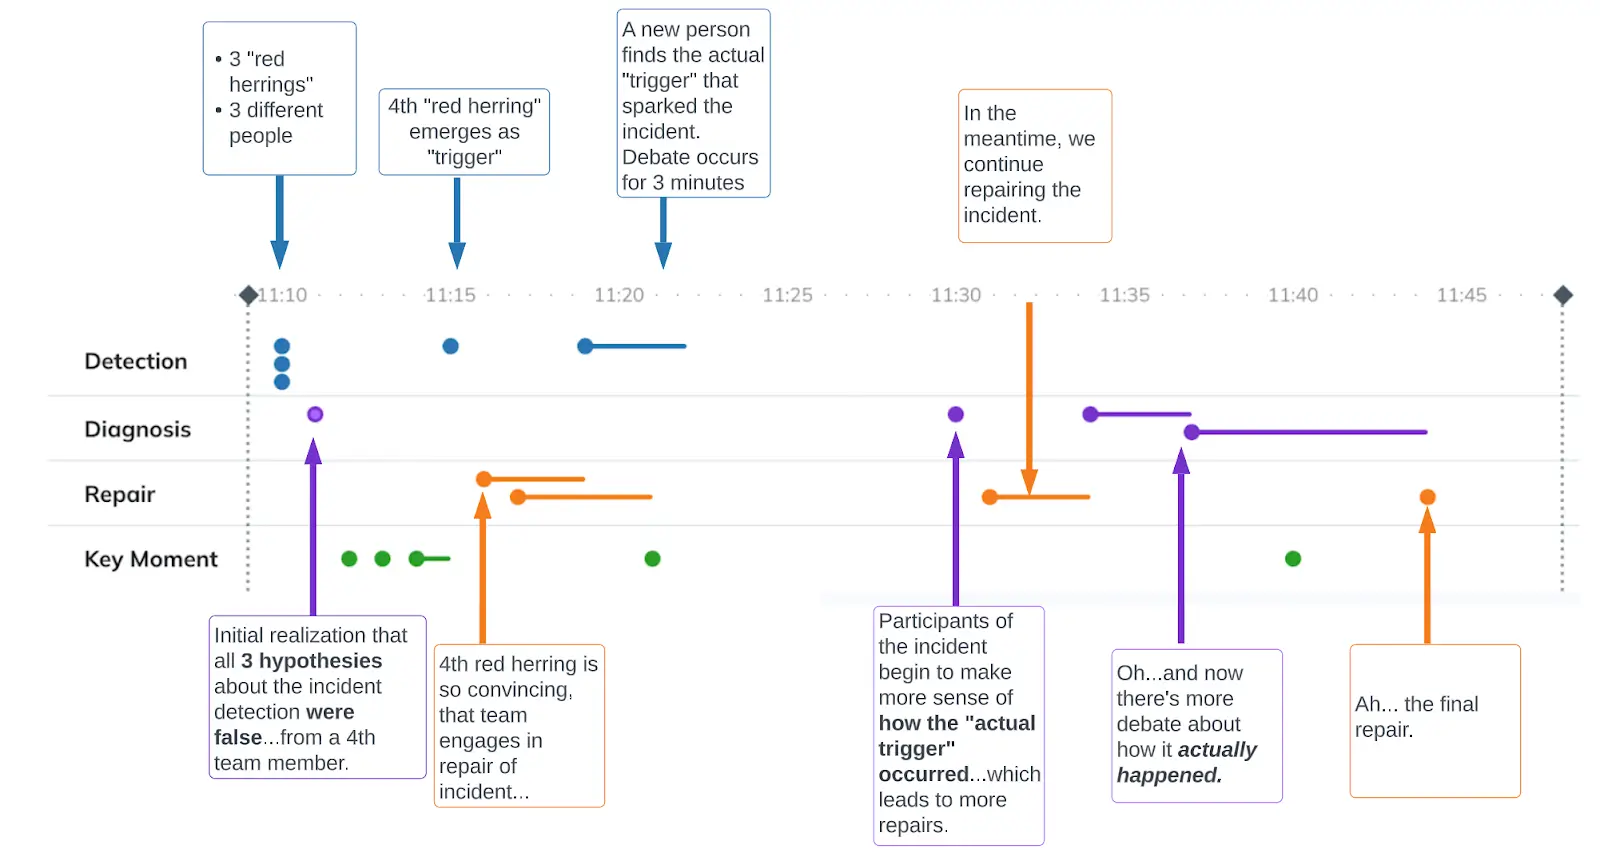
Narrative view
Finish Your Narrative
Once your Narrative is complete, you may use it in the next step of your incident analysis process. We recommend using it to set your incident review meeting's agenda. Please read Basic Post-Incident Review Tutorial for more information.
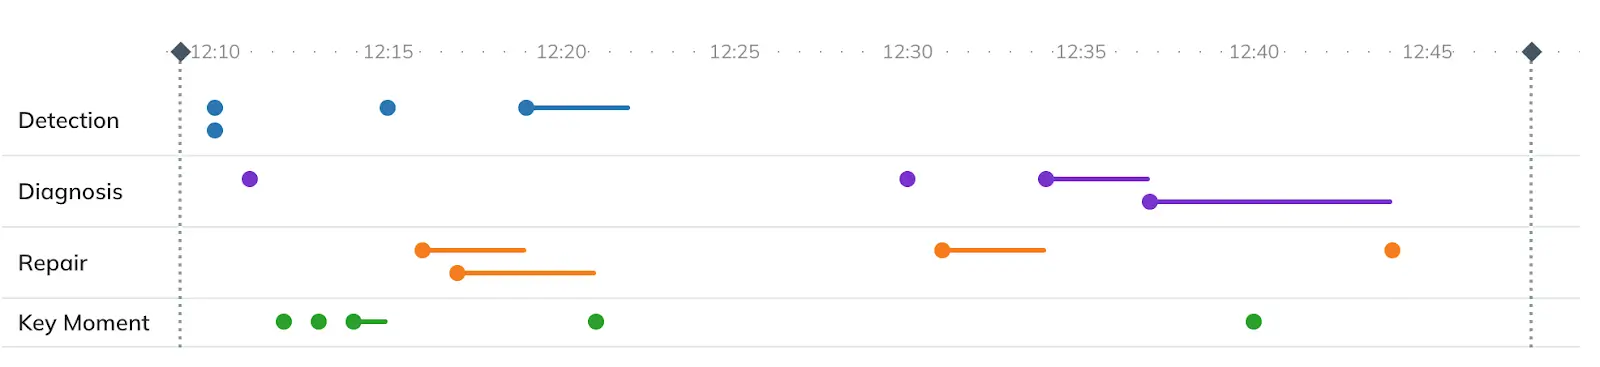
Narrative view
Updated about 1 month ago