Zendesk v2 Integration Guide | PagerDuty
Version No Longer Supported
Support for Zendesk v2 ended on March 31, 2023. All PagerDuty customers using Zendesk v2 must upgrade to Zendesk v3 before it sunsets. There will be no new development on this version of the feature, and bug fixes will be handled case-by-case.
HTTP Targets No Longer Supported
On February 22, 2022 Zendesk deprecated HTTP targets. You can read more about this on Zendesk’s Knowledge Base. Please reference our most current Zendesk v3 integration guide to integrate Zendesk and PagerDuty.
Zendesk + PagerDuty Integration Benefits
- The Zendesk integration uses Extensions, Targets and Triggers to send Zendesk Support Ticket events to PagerDuty, triggering incidents.
- The PagerDuty app for Zendesk retrieves and interacts with the PagerDuty incident from the Zendesk User Interface.
How It Works
- Ticket events are sent from Zendesk in JSON format to PagerDuty's Events API based on the Conditions and Actions set during Trigger configuration in Zendesk.
- These events will turn into incidents in PagerDuty, notifying the configured service’s on-call responders.
Requirements
- In PagerDuty: A base role of Manager or higher is required to configure this integration. If you're not sure what role you have, or if you need your permissions adjusted, visit our sections on Checking Your User Role or Changing User Roles.
- In Zendesk: An Administrator role or higher is required to install the app and configure extensions and Triggers.
Version
This guide is for Zendesk v2, a legacy version.
Looking for a Different Version?
- The Zendesk v3 integration is the most current version.
- Our Zendesk v1 integration, a legacy version, is also available.
Integration Walkthrough
In PagerDuty
- In the Services menu, select Service Directory.
-
- If you are adding your integration to an existing service: Click the name of the service, select the Integrations tab, click Add a new integration and continue to step 3.
- If you are creating a new service for your integration: Please read our documentation in section Configuring Services and Integrations and follow the steps outlined in the Create a New Service section, selecting Zendesk API as the Integration Type in step 4. Continue with step 4 (below) once you have finished these steps.
- Enter an Integration Name in the format
ZendeskAPI-Service-Name(e.g.,ZenDeskAPI-Support-Tickets) and select Zendesk API from the Integration Type menu. Click Add Integration. - On the next screen, you will see the Integration Key for this integration. Copy this key and keep it in a safe place for future use.
In Zendesk
- In the left hand menu, click the Admin and select Extensions under Settings.
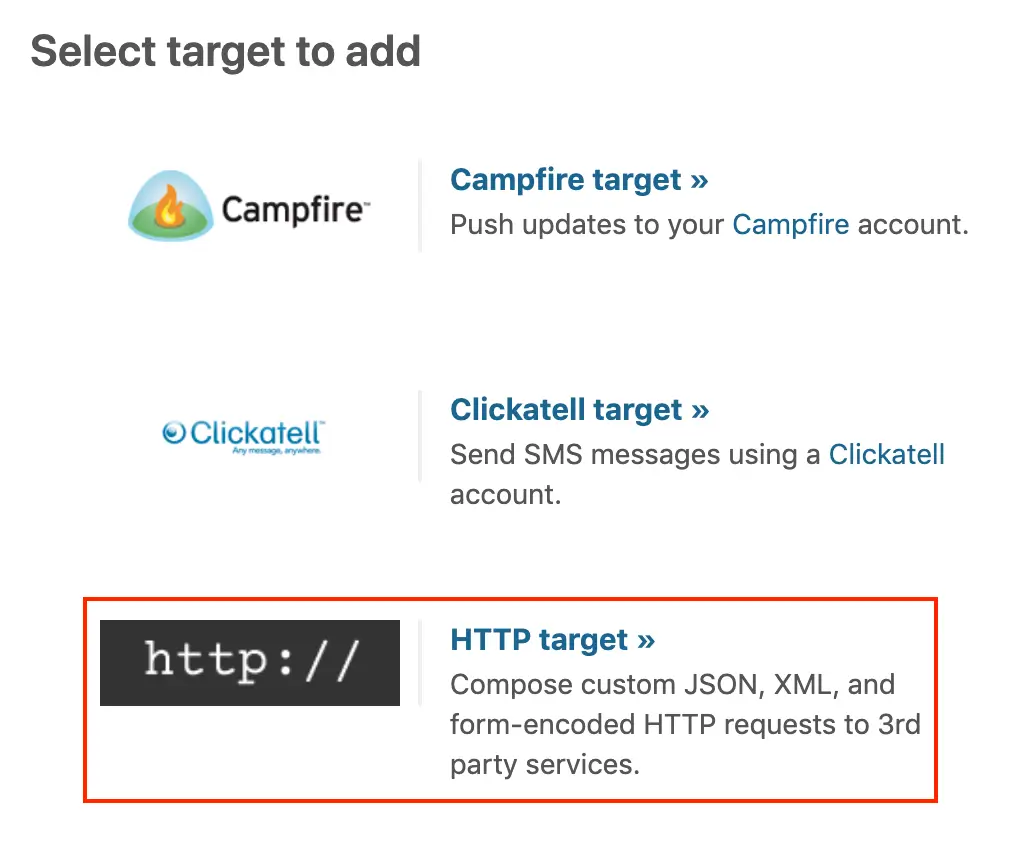
- Click Add Target and then HTTP Target.

Add target

Select HTTP target
- On the HTTP Target screen, enter the following:
- Title: Enter a title that will be identifiable when configuring Triggers in later steps.
- Url: Enter the following value:
https://events.pagerduty.com/v2/enqueue. - Method: Select POST.
- Content type: Select JSON.
- Basic Authentication: Leave unchecked.
Select Create Target from the dropdown and then click the Submit button.
-
Next, navigate back to the Admin and select Triggers under Business Rules. Depending on your current configuration, you have the following two options:
- If you have an existing trigger that you wish to send to PagerDuty: Click the trigger name and modify the Actions section by adding an action to Notify Target and select the target created in step 3, above. Continue on to step 5.
- If you are creating a new trigger: Click Add Trigger and enter a Trigger name and Description that describes its desired functionality. Configure your preferred Conditions that will determine when you would like Zendesk to send an event to PagerDuty. Next, in the Actions section, add an action to Notify Target and select the target created in step 3, above. Continue on to step 5.
-
Next, you will be prompted for a JSON body that takes Zendesk Placeholder values. We have provided a sample JSON body that you can use out-of-the-box. If you want to modify the payload in any way, here are some rules to keep in mind:
- The
dedup_keyshould follow the format ofZendesk_[your_zendesk_subdomain]_{{ticket.id}}. The PagerDuty plugin looks for Zendesk-created incidents with that pattern as a key. Changing this may result in the App Plugin not being able to retrieve the associated PagerDuty incident. - The
routing_keydetermines which account or service this information should be sent to. Paste your Integration Key here (depending on how you are integrating, this key was generated in step 2 of Integrating With Global Event Routing, or step 4 of Integrating With a PagerDuty Service, above). - The
event_actiondetermines what PagerDuty should do once this event is received. You can specify eithertrigger,acknowledgeorresolvehere. - The
payload.custom_detailsis a custom object that will take in additional fields in case you want to include additional information.
- The
{
  "dedup_key": "Zendesk_[your_zendesk_subdomain]_{{ticket.id}}",
  "routing_key": "[your_integration_key]",
  "event_action": "trigger",
  "payload": {
    "summary": "{{ticket.title}}",
    "source": "{{ticket.via}}",
    "severity": "critical",
    "custom_details": {
      "priority": "{{ticket.priority}}",
      "requester_name": "{{ticket.requester.name}}",
      "status": "{{ticket.status}}",
      "description": "{{ticket.description}}"
    }
  },
  "client_url": "{{ticket.link}}",
  "client": "Zendesk"
}
After configuring the JSON body, click Create.
- Next, navigate to the Zendesk App Marketplace, search for PagerDuty and install the PagerDuty app.
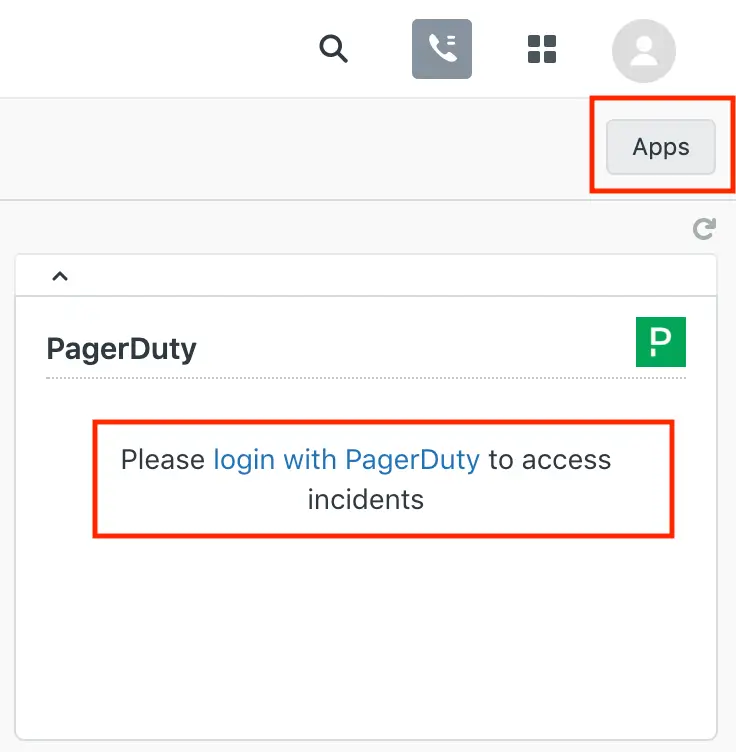
- Once you’ve installed the app, navigate back to your Zendesk account, click +Add in the upper left corner and select Ticket. On the new ticket, click the Apps button on the upper right to display the PagerDuty application. Click login with PagerDuty to sign in and access PagerDuty from the Zendesk interface.

Login with PagerDuty
- There are two ways to test the integration:
- Modify the ticket created in the last step to meet the Conditions for the Trigger to execute. This should automatically trigger an Event API call once the Priority is set to URGENT.
- You may also create a ticket after signing in to PagerDuty from the Zendesk interface and click the blue Create Incident button. On the next screen, select which PagerDuty service you would like to open an incident on.
FAQ
I’m using the Business Rules Triggers in Zendesk to trigger notifications to PagerDuty, and incidents are being created, but the PagerDuty App in Zendesk is not loading the incident information on the ticket. What’s happening here?
Within the JSON Payload of your Actions from the Business Rules Triggers, ensure that the formatting of the value for dedup_key is Zendesk_[your_Zendesk_subdomain]_{{ticket.id}}. For example, if the URL to your Zendesk account is acme.zendesk.com, the formatting of the the dedup_key value should be Zendesk_acme_{{ticket.id}}.
Will PagerDuty create a new Zendesk ticket if there’s a non-Zendesk-generated incident on the same service?
No, PagerDuty will not create a new Zendesk Support Ticket if there’s an incident that did not originate from Zendesk.
How does the PagerDuty app in Zendesk look up the incident? What if there are users that shouldn’t have access to those incidents?
The PagerDuty app utilizes OAuth to determine the user’s permissions to access incidents within PagerDuty. If the user does not have access to a team’s incidents, the PagerDuty app will not display that information in the sidebar app.
Updated 7 months ago
