
Extensions
Extend PagerDuty's capabilities with third-party tools
Service extensions allow you to connect PagerDuty to third-party tools such as Slack, Microsoft Teams, and Jira Cloud. These tools extend capabilities and streamline incident response and communication.
Based on your user permissions, there are two places to manage service extensions:
Extensions With Dedicated PagesSome extensions have dedicated pages and the information in the following sections does not apply, for example Slack, Microsoft Teams, and Jira Cloud. Refer to a product's integration guide if the information in this guide is not applicable.
Manage Extensions on the Service Details Page
Required User PermissionsYou can manage extensions on both the Extensions page and the service details page if you have one of the following roles:
- Manager team role
- Note: If you have a Manager team role and a lower-level base role (for example, Responder, Observer, or Restricted Access), you can only manage extensions from the service details page.
- Admin or Global Admin
- Account Owner
If you are not sure what role you have, or if you need your permissions adjusted, view Check Your User Role or Edit User Roles.
View Extensions
- Navigate to Services Service Directory and click the name of your desired service.
- Select the Integrations tab and scroll to the Extensions and Add-ons section.
Create Extensions
- Navigate to Services Service Directory and click the name of your desired service.
- Select the Integrations tab, scroll to the No extensions or add-ons found on this service section, and click Add an Extension.
- Note: If an extension already exists on the service, click Add or manage extensions.
- Complete the following fields on the extension configuration screen:
| Field | Value |
|---|---|
| Extension Type | Select your preferred extension type from the dropdown list. |
| Name | Enter a descriptive name for the extension. |
| Details | Enter the required details for the configuration. |

Enter extension details
- Click Save.
Edit Extensions
- Navigate to Services Service Directory and click the name of your desired service.
- Select the Integrations tab, scroll to the Extensions and Add-ons section, and click Add or manage extensions.
- To the right of your desired extension, click Edit.
- Make the required changes and click Save.
Delete Extensions
- Navigate to Services Service Directory and click the name of your desired service.
- Select the Integrations tab, scroll to the Extensions and Add-ons section, and click Add or manage extensions.
- To the right of your desired extension, click Remove.
- In the confirmation modal, click Delete.
- Note: This action is permanent and cannot be undone.
Manage Extensions on the Extensions Page
The Extensions page allows you to view and manage all service extensions, persistent conference bridges, and add-ons.
Required User PermissionsYou can manage extensions on the Extensions page if you have an Account Owner, Admin, Global Admin, or Manager role.
If you are not sure what role you have, or if you need your permissions adjusted, view Check Your User Role or Edit User Roles.
View Extensions
- Navigate to Integrations Extensions.
- Select the Service Extensions tab to view extensions across your account.
- Select one of the following tabs to filter extensions:
- Account Level: Displays extensions available at the account level.
- Service Level: Displays extensions specific to individual services.
If you do not see the expected number of extensions, adjust the Per Page dropdown or select the next page to view more results.

View more extensions
Add Extensions
- Navigate to Integrations Extensions.
- Ensure the Service Extensions tab is selected and click New Extension.
- Select an extension from the list. If you choose an extension from the Service Level category, complete the following fields:
| Field | Value |
|---|---|
| Name | Enter a descriptive name for the service level extension. |
| Services | Select the services to connect to the extension. |
| URL | Enter the destination URL for the extension. |
- Note: For Account Level extensions, click Continue to Configuration to set up your extension directly on the extension page.
- Click Add.

Add service level extension
Update Extensions
- Navigate to Integrations Extensions.
- Complete one of the following actions depending on the extension level:
- For Service Level extensions: Click Edit, make the required changes, and click Save.
- For Account Level extensions: Click the link under the Details column to navigate to the dedicated extension page.
Delete Extensions
- Navigate to Integrations Extensions.
- Complete one of the following actions depending on the extension level:
- For Service Level extensions: Click Remove and click Delete to confirm.
- Note: This action is permanent and cannot be undone.
- For Service Level extensions: Click Remove and click Delete to confirm.
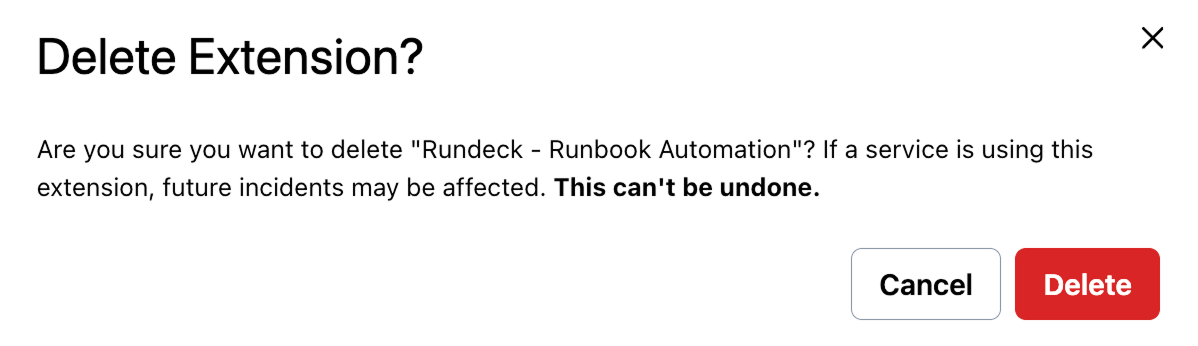
Delete extension
- For Account Level extensions: Click the link under the Details column to navigate to the dedicated extension page for more information on how to delete the extension.
Deleting Account Level ExtensionsSome account level extensions, such as Slack or Microsoft Teams, cannot be deleted. When you navigate to these extension pages, the delete option is not available.
Updated 12 days ago