Add-ons
Enhance PagerDuty's capabilities with your own scripts, web apps and dashboards
Add-ons enhance your PagerDuty experience with apps hosted outside of the core PagerDuty product, but are still accessible within the PagerDuty web app. For example, you can add your own scripts, web apps, and dashboards to your PagerDuty environment. Add-ons can interact with our APIs, which means you can customize the PagerDuty web app to provide additional functionality that is not currently available.
Required User Permissions
The Account Owner and Admin users can manage Add-ons. If you're not sure what role you have, or if you need your permissions adjusted, visit our sections on Check Your User Role or Edit User Roles.
View Add-ons
Add-ons may appear in two different places, depending on which option you select during installation:
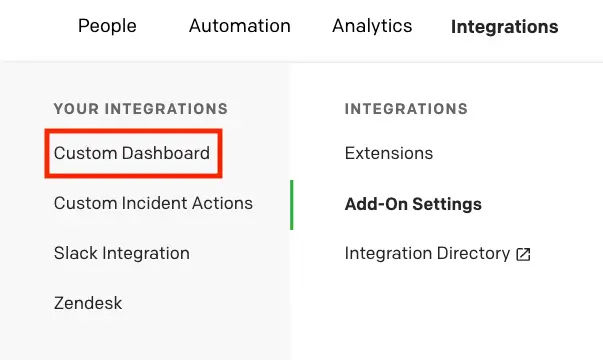
- Its own page: This option will add a link under Your Integrations when you hover over Integrations in the web app.

View add-ons
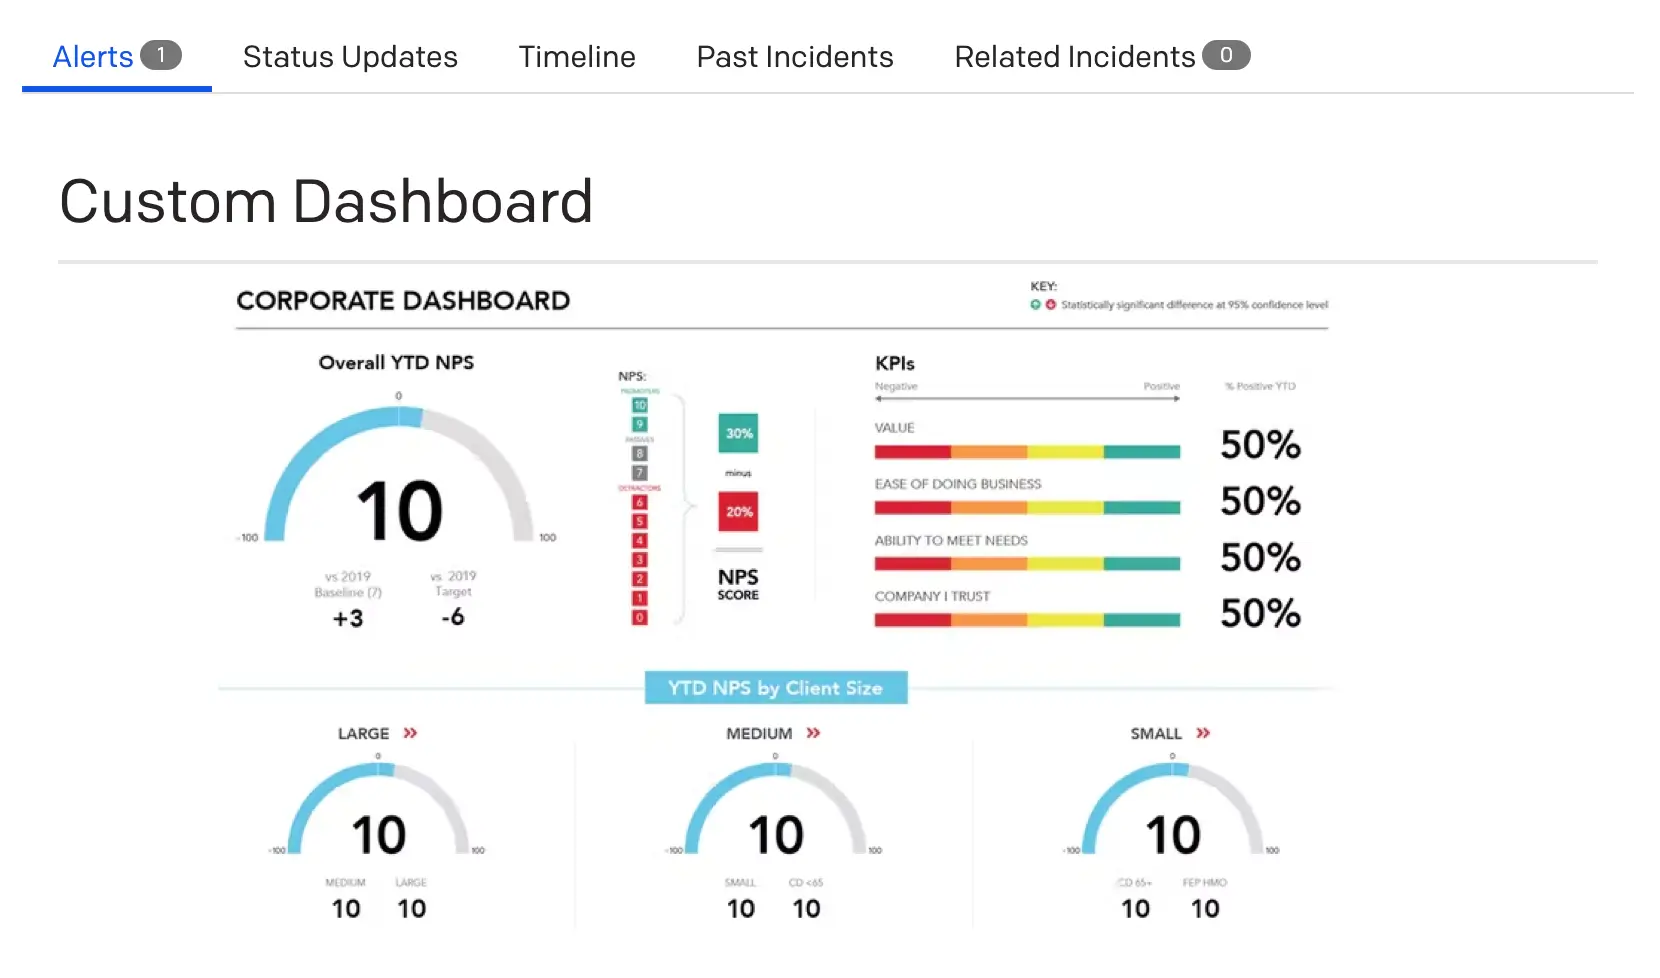
- Incidents on these services: This option will embed your add-on on the incidents detail page of any services you select during configuration.

Custom dashboard
Install Add-ons
- In the PagerDuty web app, navigate to Integrations Add-On Settings.
- Click New Add-on.
- Enter a Name, choose a display preference value for Shown on (i.e., Its own page or Incidents on these services), and a URL where the add-on is hosted.
- Click Save.
Response Header Requirements
You will need to set the following response headers in order for the server that hosts add-ons to load the document in a frame:
X-Frame-Options: allow-from https://YOUR-SUBDOMAIN-HERE.pagerduty.com
Access-Control-Allow-Origin: https://YOUR-SUBDOMAIN-HERE.pagerduty.com
Edit Add-ons
- In the PagerDuty web app, navigate to Integrations Add-On Settings.
- Next to your desired add-on, select Edit.
- Make your required changes and click Save.
Tip
Add-ons installed with the display option Incidents on these services can be customized after installation to display on different services, or all services, without re-installing the add-on. However, it is not possible to change an add-on's display preference between Incidents on these services and Its own page without uninstalling and re-installing the add-on.
Delete Add-ons
- In the PagerDuty web app, navigate to Integrations Add-On Settings.
- Next to your desired add-on, select Delete.
- Click Delete in the confirmation dialog.
- Note: This is a non-reversible action and cannot be undone.
Updated 8 months ago
