
Post-Incident Review Report
Compile incident data and build a narrative for analysis in incident review meetings | Jeli Part of PagerDuty
The Post-Incident Review Report provides a space to build an incident narrative, view participants, and document key takeaways and action items. Post-Incident Review Reports surface insights into organizational patterns and they help create structure for incident review meetings.
Navigate to Post-Incident Reviews select your preferred Post-Incident Review Report. You will then see tabs outlined in the following sections.
AvailabilityJeli is available to customers with a standalone Jeli plan, or the Enterprise plan for Incident Management.
Please contact our Sales Team to upgrade to an account plan with Jeli.
Overview
When you navigate to an Post-Incident Review's Report Overview tab you'll see cards detailing Incident Start, Incident End and Last Import at the top.
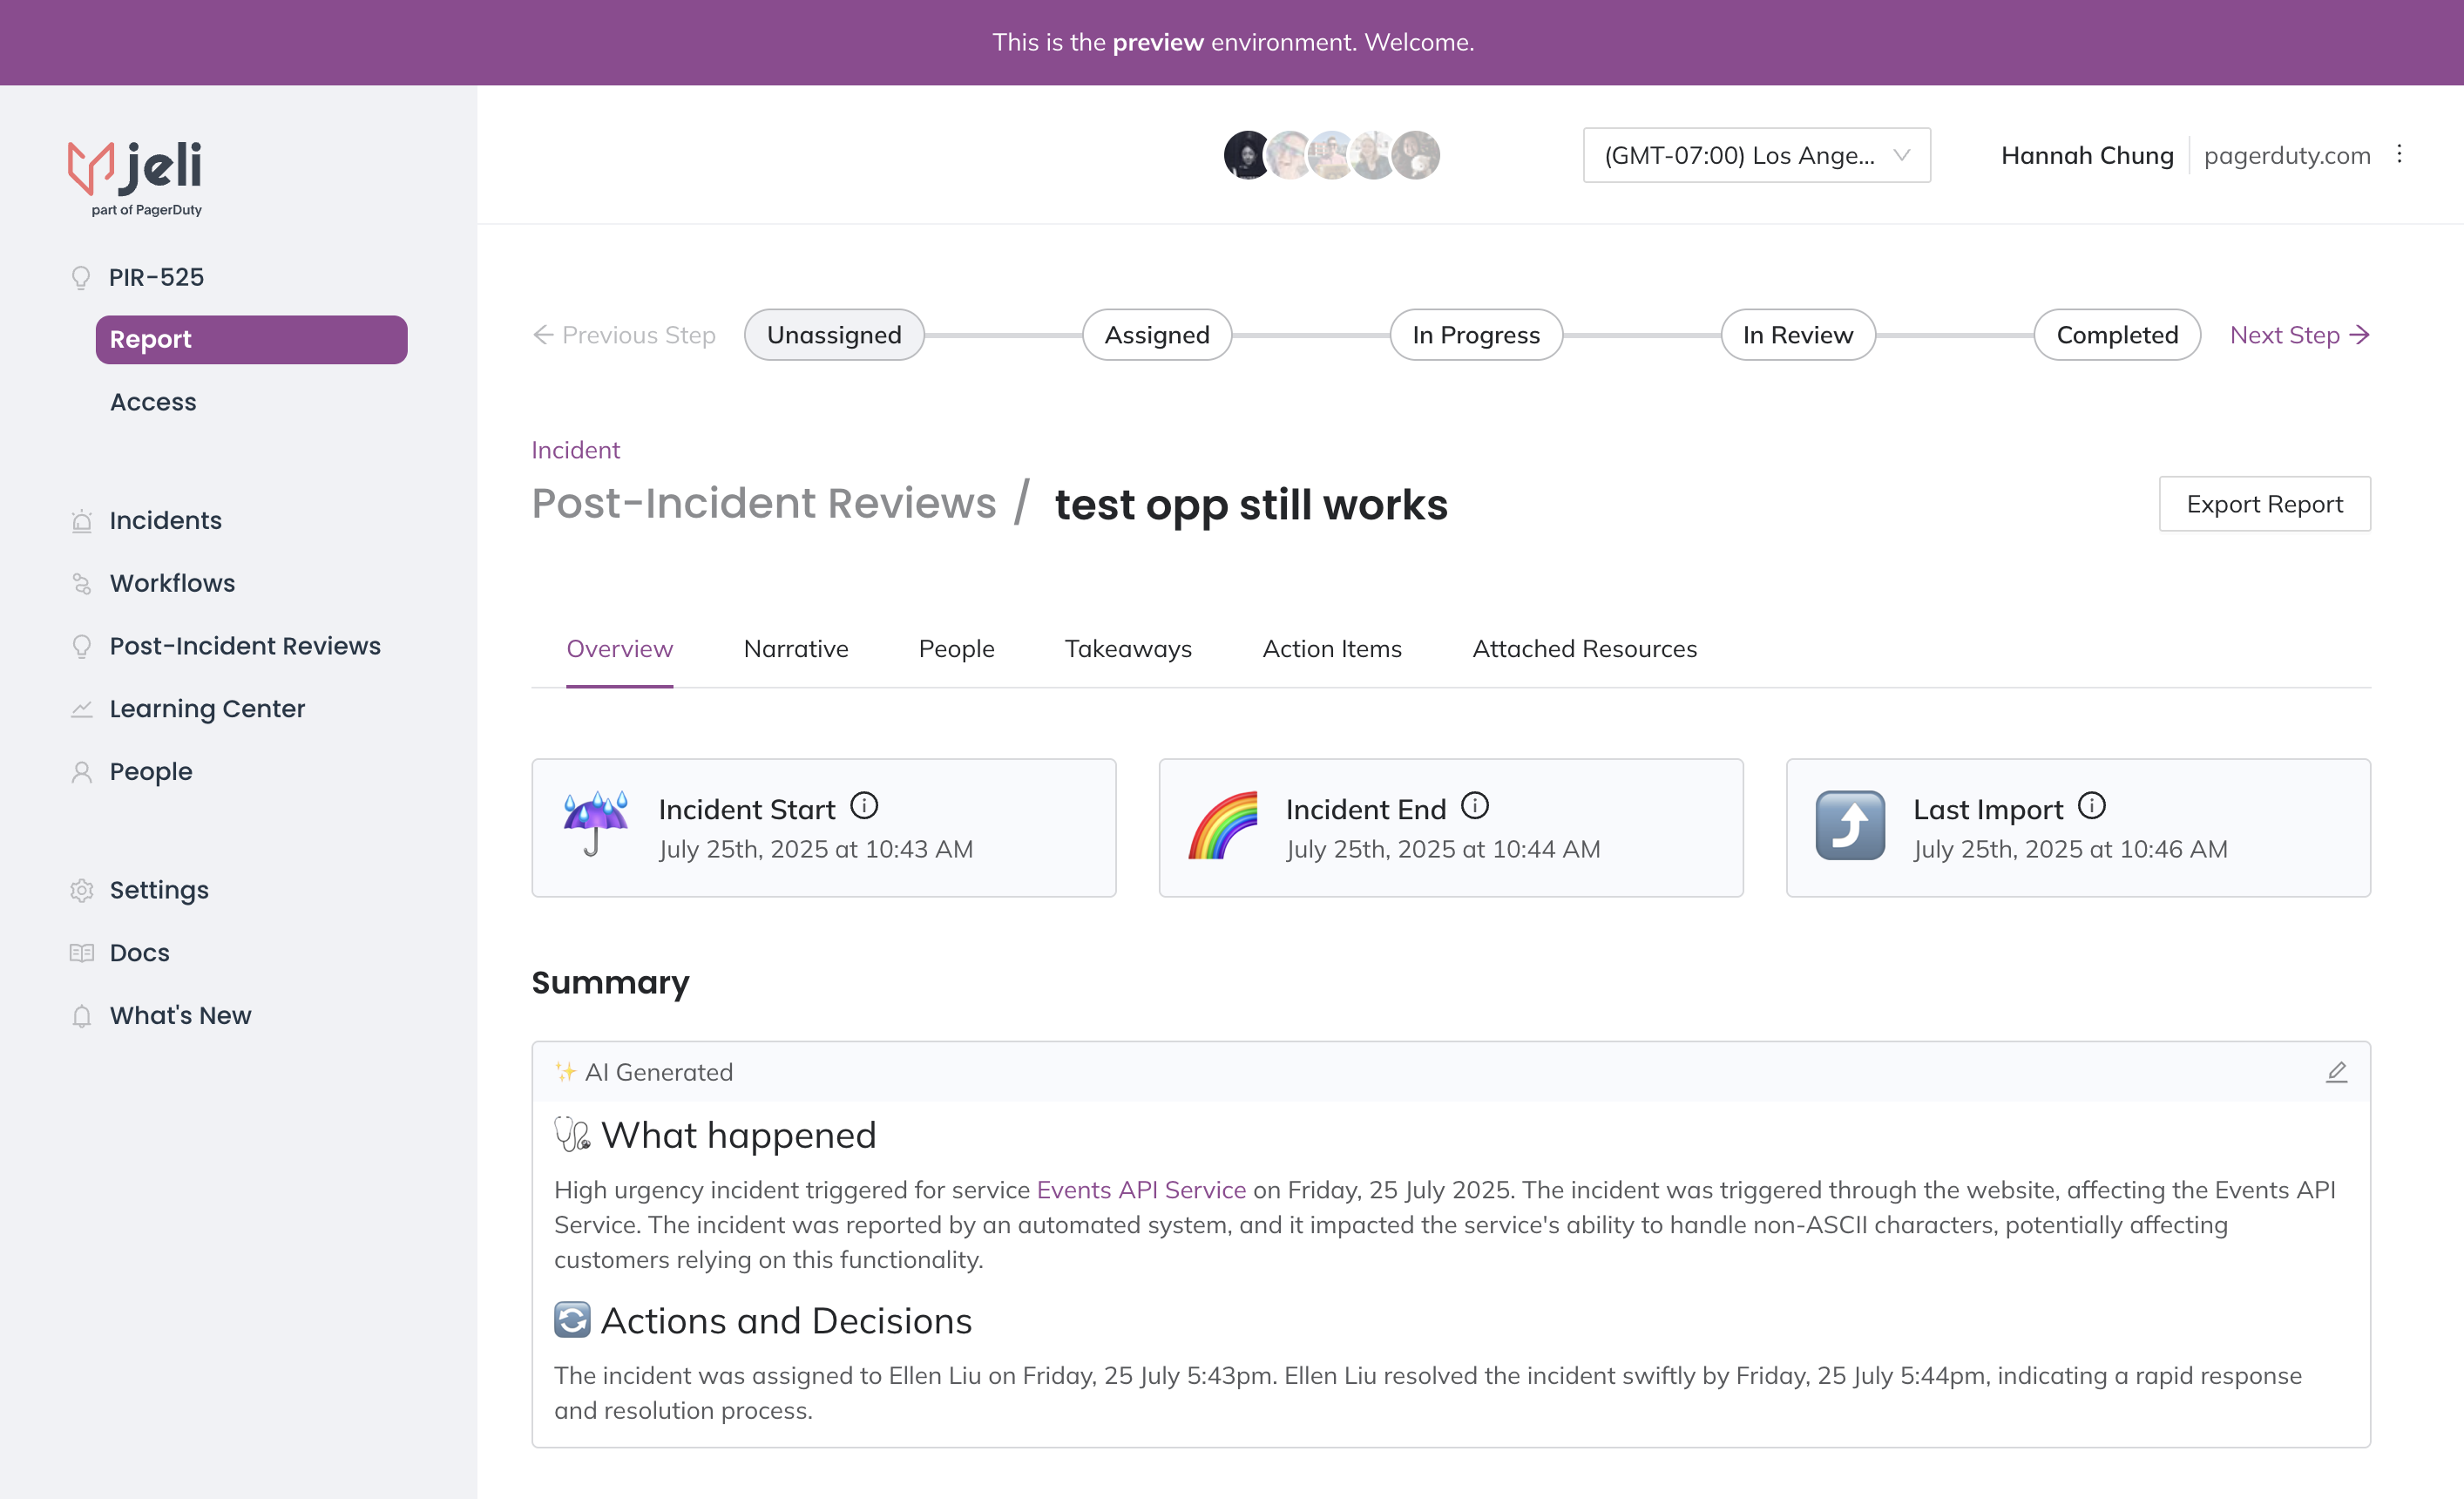
Post-Incident Review Report Overview tab
| Card | Description |
|---|---|
| Incident Start | By default, Jeli determines this timestamp by the earliest message collected from Slack. You can edit this value in the Narrative Builder under the Incident Start marker. |
| Incident End | By default, Jeli determines this timestamp by the latest message collected from Slack. You can edit this value in the Narrative Builder under the Incident End marker. |
| Last Import | Jeli determines this timestamp by the most recent data import into the Post-Incident Review. |
Time ZoneAll times on this page are displayed in the user's local time zone.
Summary
The Summary section offers a Markdown-supported text field to document a high-level summary of the incident and its investigation. Click the icon to the right of the Summary to enter or edit it.
You can also click Choose a template to populate the field with a prepared template. Read Post-Incident Review Templates for more information.
Key Roles
The Key Roles section allows you to specify who filled each role during the incident. By highlighting key roles, you can see at-a-glance who played a significant part in either the logistics of an incident or its investigation.

Key Roles
These roles are also displayed elsewhere in Jeli. For example, displaying the investigator(s) assigned to an Post-Incident Review, on the Post-Incident Reviews list page.

Key roles on the Post-Incident Reviews page
Add a Role
Add a key role
TipIf you are using the Jeli Slackbot, you will have the option to assign yourself a role, e.g., Incident Commander, Communications Lead, or any other custom role you’ve added in the Jeli web app. Jeli will add the user who opened the incident as the Incident Commander by default if you do not choose one using the
/jeli openmodal. You can always update the Incident Commander later in the incident's lifecycle.
- On an Post-Incident Review's Reports Overview tab, under Key Roles, click Add.
- Select a Role, and under Assign to select your preferred user. Note: Post-Incident Reviews may have many individuals assigned to the same role (e.g., multiple investigators).
- Click Add to add the role.
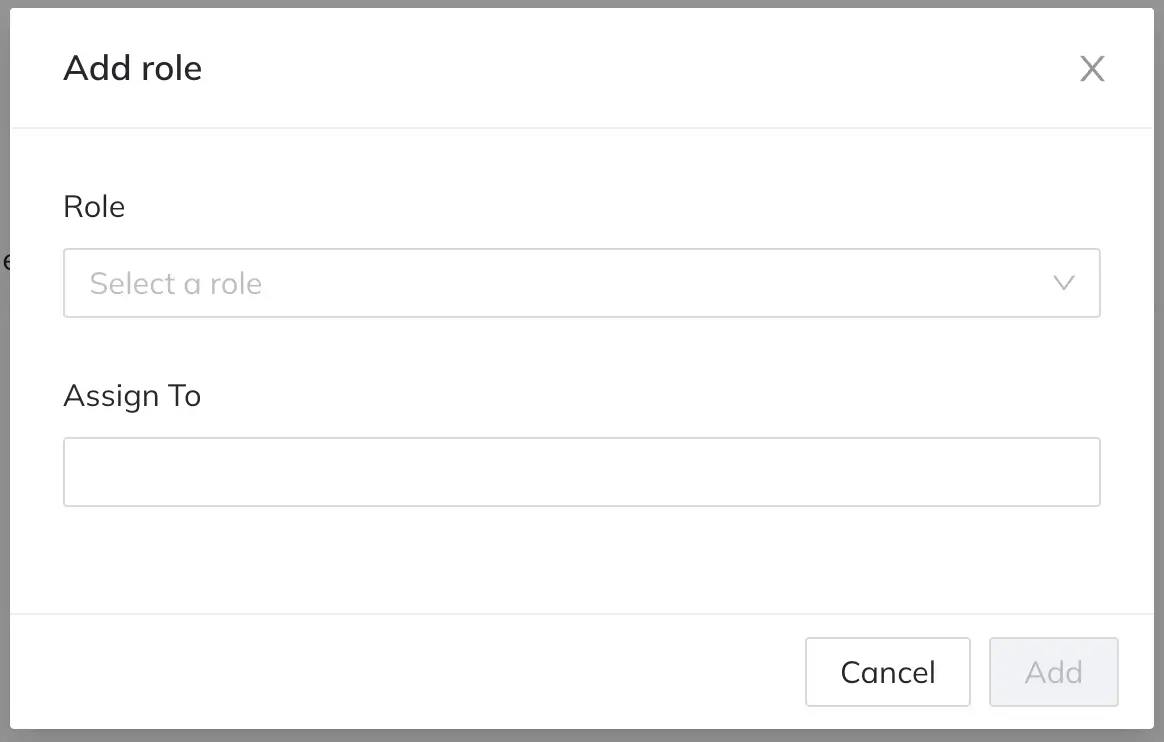
Add role
Delete a Role
To delete a role from your Post-Incident Review:
- On a Post-Incident Review's Reports Overview tab, under Key Roles, hover over the user’s name and click the menu to the right.
- Select Delete. This will delete the key role assignment, but will not remove the individual as a participant in the Post-Incident Review, or impact your Post-Incident Review in any other way.
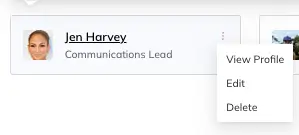
Delete a role
Imported Data Sources
When you import data from Slack or other integrations, you will see a link to the data source(s) along with information on who uploaded them in this section.
Post-Incident Review Tags
Tags are metadata that you can apply to any Post-Incident Review. Tagging helps with categorization, correlation and filtering. Read Post-Incident Review Tags for more information.
Related Post-Incident Reviews
The Related Post-Incident Reviews section details other Post-Incident Reviews that may share similarities in Technologies, Services, etc., based on Post-Incident Review Tags. Read our Related Post-Incident Reviews article for more information.
Narrative
The Narrative Builder is designed to help you discover, tell, and share the story of an incident. You'll write an executive summary, and develop a shareable visualization that you can center post-incident meetings around. Read our Narrative Builder article for more information.
People
The People tab provides insights into participants’ incident involvement and roles. Read our View Review Participant Data article for more information.
Takeaways
During the course of a Post-Incident Review, themes will often grow and change as you learn more and answer newly-surfaced questions. Takeaways provide a place to record themes, to distill them as you prepare for the learning review, and to capture them once they’ve been discussed in the meeting.
- In the Jeli web app, navigate to Post-Incident Reviews select your desired Post-Incident Review Report.
- Select the Takeaways tab and click the icon on the right to begin editing.
- When you're finished making updates, click Save in the bottom right.
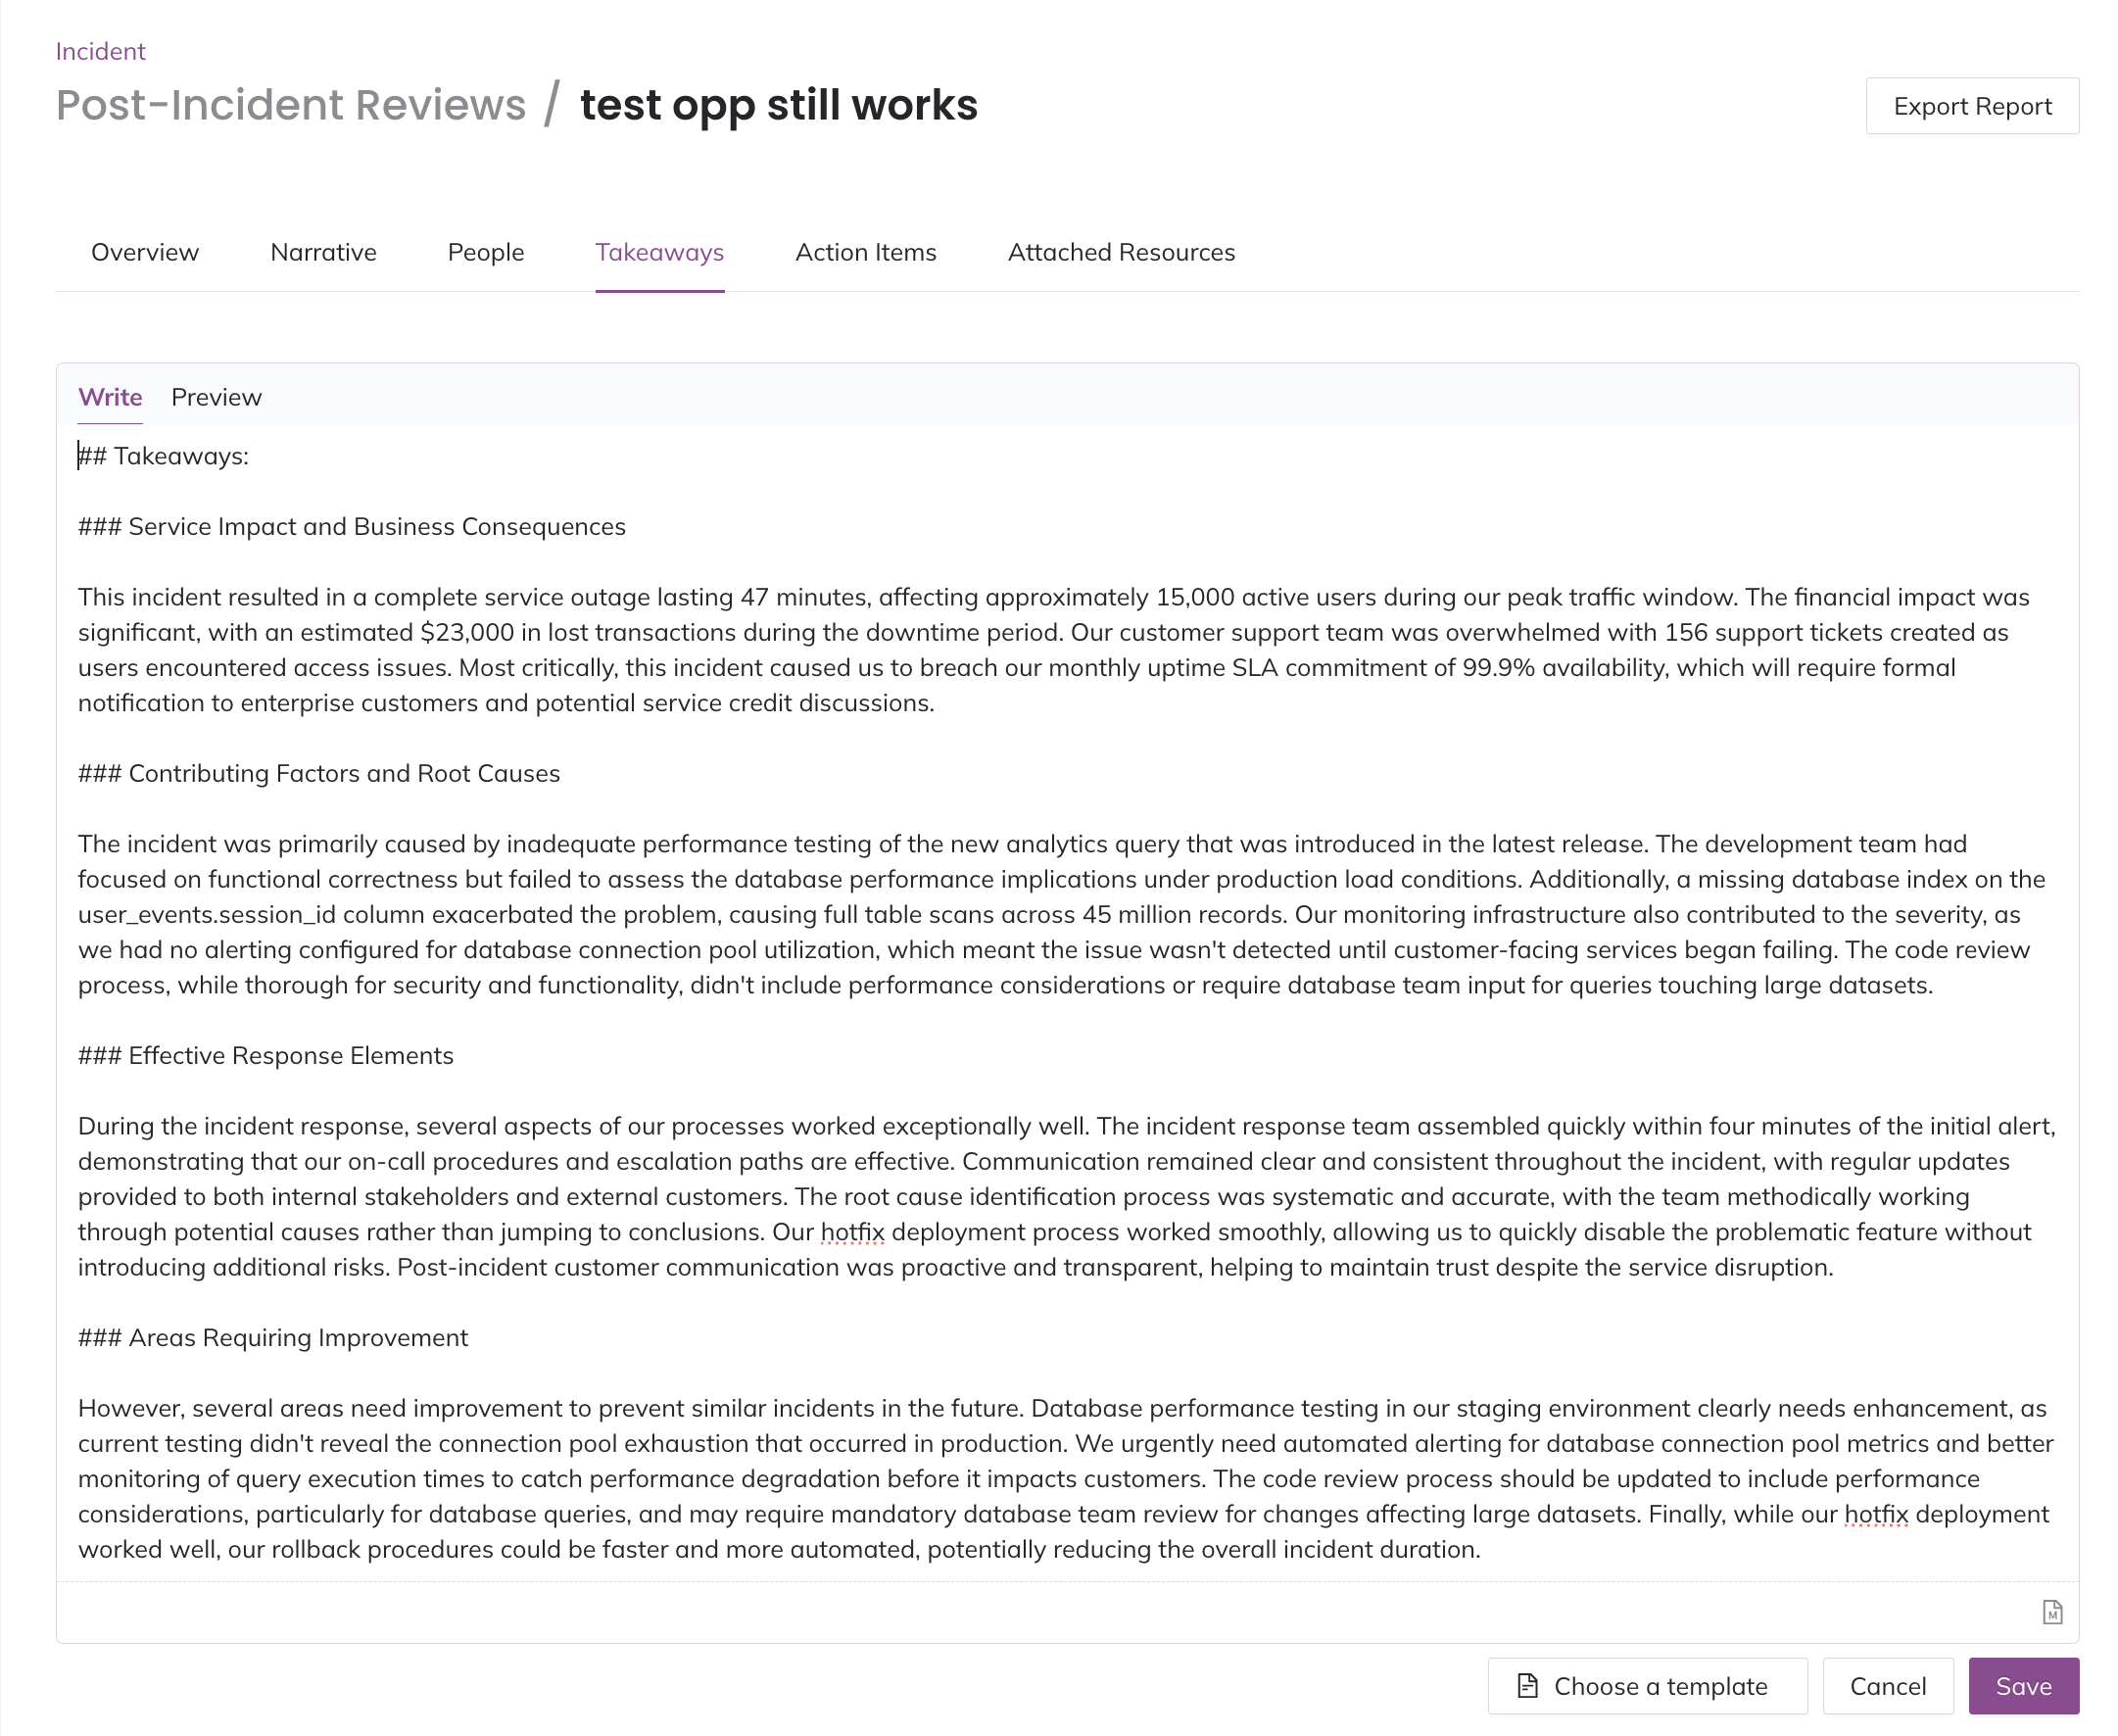
Post-Incident Review takeaways
The Takeaways field supports Markdown, and it also supports templates, which can help ensure that information is recorded in a standardized way for your organization.
Topics of InterestConsider the following topics while conducting an investigation:
- What surprised you?
- What do you think others should know more about?
- What qualities does this incident share with other incidents?
Further ReadingPlease read Jeli's Howie: The Post-Incident Guide for a more detailed breakdown of incident analysis.
Action Items
Action items provide a structured way to document and track remedial steps and future improvements identified during a Jeli incident. Read our Collect Action Items article for more information.
Attached Resources
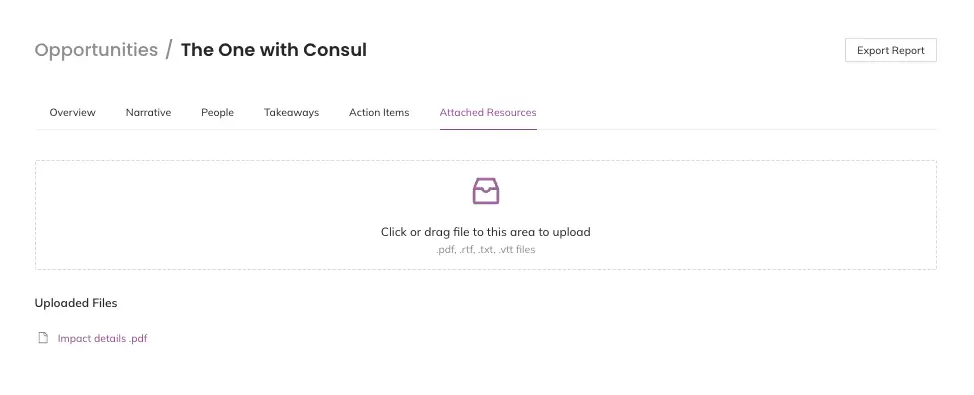
The Attached Resources tab provides a place to upload external files for reference as you conduct your investigation, and to consolidate record keeping when referring to an Post-Incident Review in the future.
- In Jeli, select your preferred Post-Incident Review and navigate to Report Attached Resources.
- Click the upload area to select files from your computer, or drag and drop resources into the upload area.
Attached files will appear in the Uploaded Files section below.
Formats and File SizeYou can upload files in the following formats:
.rtf,.txt,.vtt(Zoom). The maximum file size is 200 MB.
Edit an Attached Resource's Display Name
- On a Post-Incident Review's Attached Resources tab, hover over a file name in the Uploaded Files section and click .
- Enter a new file name and click . The original file name will be displayed below.
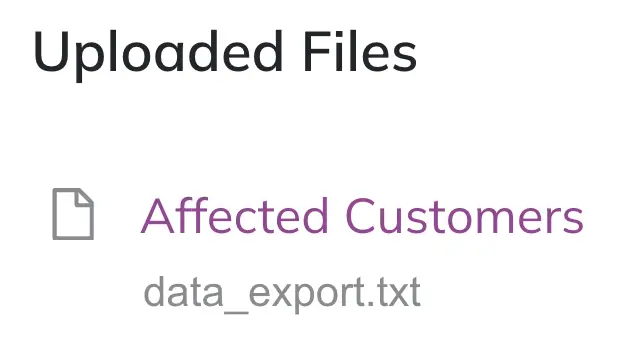
Renamed resource
Delete an Attached Resource
- On an Post-Incident Review's Attached Resources tab, hover over a file name in the Uploaded Files section and click .
- In the confirmation modal, click Delete file.
Export a Report
From an Post-Incident Review's Report section, click Export Report in the upper right to export your incident analysis in a shareable format.
Clicking Export Report will take you to a preview of your report, which includes the following by default:
- Summary
- Key Roles
- Timeline
- Includes the exporter's time zone
- Narrative
- Includes each narrative marker's summary. For privacy, it does not include notes or supporting evidence.
- Takeaways
- Action Items
- Attached Resources
- Note: When the report is exported as a
.pdf, any attached resources will be converted to clickable links. This means that anyone with access to the.pdfreport will also have access to the attached resources.
- Note: When the report is exported as a
Example ReportFeel free to reference Jeli Report – Post-Incident Review Butter Side Up for an example report. For more techniques for sharing incident findings check out our Incident 101 blog.
Edit the Report
You can enable or disable report sections in the left hand Report Sections module by turning the toggles on or off. If a section does not contain any information, it will be grayed out in the selection menu.
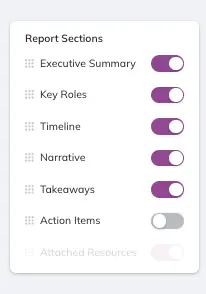
Report toggles
You can also reorder report sections by selecting the section name, then dragging and dropping to a new location:
Reorder sections
You can select the report timeline's time zone before you export. This will not change the time zone in the rest of the Post-Incident Review, only in the .pdf export.
Generate the Report
To generate a .pdf version of the report, from the report preview click Export Report and choose Save as PDF from the print dialogue. Note: Make sure you have Print backgrounds selected in your print dialog options.
Updated 9 days ago