
Jeli Post-Incident Reviews and Postmortems
Document and learn from past major incident responses
Jeli End-of-LifeAs of December 22, 2026, the Jeli UI will reach end-of-life. Post-incident review capabilities will be integrated directly into PagerDuty's Post-Incident Reviews in the PagerDuty web app.
Sign up for Early Access and select Post-Incident Reviews in PagerDuty UI to try the integrated experience before its general release.
Post-Incident Reviews
Jeli Post-Incident Reviews are a structured evaluation process conducted after an incident or crisis to analyze what happened, why it happened, and how to prevent recurrence. They are a valuable tool for learning from mistakes, improving response procedures, and enhancing overall resilience in the face of future challenges.
Postmortems are reports that allow you to learn from major incidents by providing a summary of events, how the response was handled, and what resolution steps were taken. Post-incident reviews curate a timeline of activity in PagerDuty and Slack, which teams can analyze to determine follow-up actions for similar situations in the future.
Jeli Post-Incident Reviews
Accounts on Enterprise for Incident Management or Customer Service Operations pricing plans can create a post-incident review in Jeli.
Availability
- Accounts on Enterprise for Incident Management pricing plans can create unlimited Jeli Opportunities.
- Accounts on Professional and Business pricing plans can create up to 300 Opportunities per year. This is a rolling 365-day window. Review the number of Opportunities you have created in the past year using the date filters on the Opportunity list in the Jeli web app.
Configure Jeli
Before you can create post-incident reviews, you must enable them in your account. Refer to Enable Post-Incident Reviews for more information.
Create a Jeli Post-Incident Review
- From any resolved PagerDuty incident, click Jeli Post-Incident Review.
- Review the Create a Jeli Post-Incident Review prompt and click Accept & Continue to Jeli.
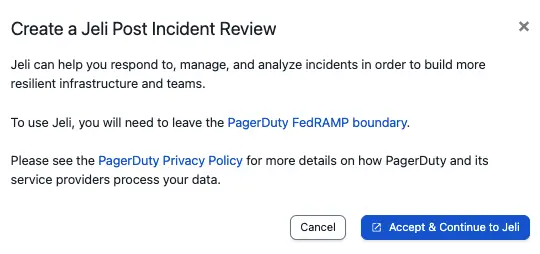
Create a Jeli Post-Incident Review
- When prompted, sign in to Jeli using Continue with PagerDuty.
- In the Jeli Opportunity, review all events from your PagerDuty timeline by clicking Narrative. Refer to Post-Incident Reviews for more information.
Create a Postmortem
Pricing PlanThe Postmortems feature is available on Business, Enterprise for Incident Management, and Digital Operations (Legacy) plans.
Required User PermissionsObservers, Limited Users, Users, Admins, and the Account Owner (or their respective Advanced Permissions base roles) can create, edit, and delete postmortems.
Postmortem End-of-LifeAs of October 31, 2026, the Postmortems feature reaches end-of-life and will be removed from the PagerDuty web app.
- Navigate to Incidents Postmortems and click New Report, or click New Postmortem Report on a resolved incident.
- Complete one of the following based on how you created the postmortem:
- If you created a new postmortem from the overview page: Enter a Report Name and Owner of Review Process. Optionally, enter an Impact Start Time and Impact End Time. A postmortem can only have a single owner. Click Create Report to continue.
- If you created a new postmortem from a resolved incident: Your report details are auto-populated and you are assigned as the Owner of Review Process. Optionally, edit these details as needed. Click Create Report to continue.
- In the Data Sources section, build a timeline of incident log entries and Slack messages related to the incident:
- PagerDuty: To link incidents to this postmortem, select Select incident between impact start and end times from the dropdown, or select Find by incident number, enter incident numbers one at a time, and click Add This Incident.
- Slack: To include discussions from public Slack channels, click Connect to Slack. After authorizing PagerDuty to access your Slack account, search and select Channels to include in your report. Click Save Data Sources to continue.
Slack Data SourceTo include Slack content in a postmortem, a contributor must authorize PagerDuty to access Slack on their behalf, which allows that contributor to see Slack content in the Available Data listing. Each PagerDuty user must authorize with Slack individually.
If your Slack user account does not have permission to add apps to your team, ask a Slack admin to go to Slack's App Directory and authorize the PagerDuty Postmortems app first.
- In the Analysis section, summarize and reflect on the curated timeline, including incident root cause analysis and potential steps to prevent or mitigate future incidents. Complete the following fields:
| Field | Description |
|---|---|
| Overview | Include a short sentence or two summarizing the contributing factors, timeline summary, and impact — for example, "On the morning of August 14th, we suffered a 14-minute SEV-1 due to a runaway process on our primary database machine. This slowness caused roughly 3% of reports generated during this time to be completed out of SLA." |
| What Happened | Include a short description of what happened, usually based on the timeline. |
| Resolution | Include a description of what solved the problem. If a temporary fix was in place, describe that along with the long-term solution. |
| Root Causes | Include a description of any conditions that contributed to the issue. If any actions taken exacerbated the issue, include them here with the intention of learning from mistakes made during the resolution process. |
| Impact | Be specific. Include numbers such as the number of customers affected, cost to the business, and other measurable outcomes. |
| What Went Well? | List anything that went well and is worth calling out. This field can be left blank. |
| What Didn't Go So Well? | List anything that did not go well. The intent is to follow up on all points here to improve processes. |
| Action Items | Include action items such as: fixes required to prevent the issue in the future, preparedness tasks that could help mitigate a similar incident, and remaining postmortem steps such as an internal follow-up email or updating the public status page. |
| Add Section | Add a new custom section here if needed. |
Customized Postmortem TemplatesThe fields above reflect the default Postmortem Template. Some fields may differ based on how your postmortems have been customized.
Each analysis field can be edited by clicking on the right and selecting one of the following options:
- Edit Section Title
- Move to Top
- Move Up
- Move Down
- Move to Bottom
- Delete Section
Click Add Section to add new sections.
- In the Timeline section, all Slack messages and incident log entries from the data sources above appear in the Available Data column on the left. The incident Trigger and Resolve log entries appear by default in the Included in Timeline column on the right.
- To add Slack messages or incident log entries to the timeline: Select the event and click , or click to the left of the event. Hold the Shift key and press to move multiple items at once. To add freeform entries, click New Timeline Entry. Any Slack entries moved into the Timeline are visible to anyone viewing the postmortem.
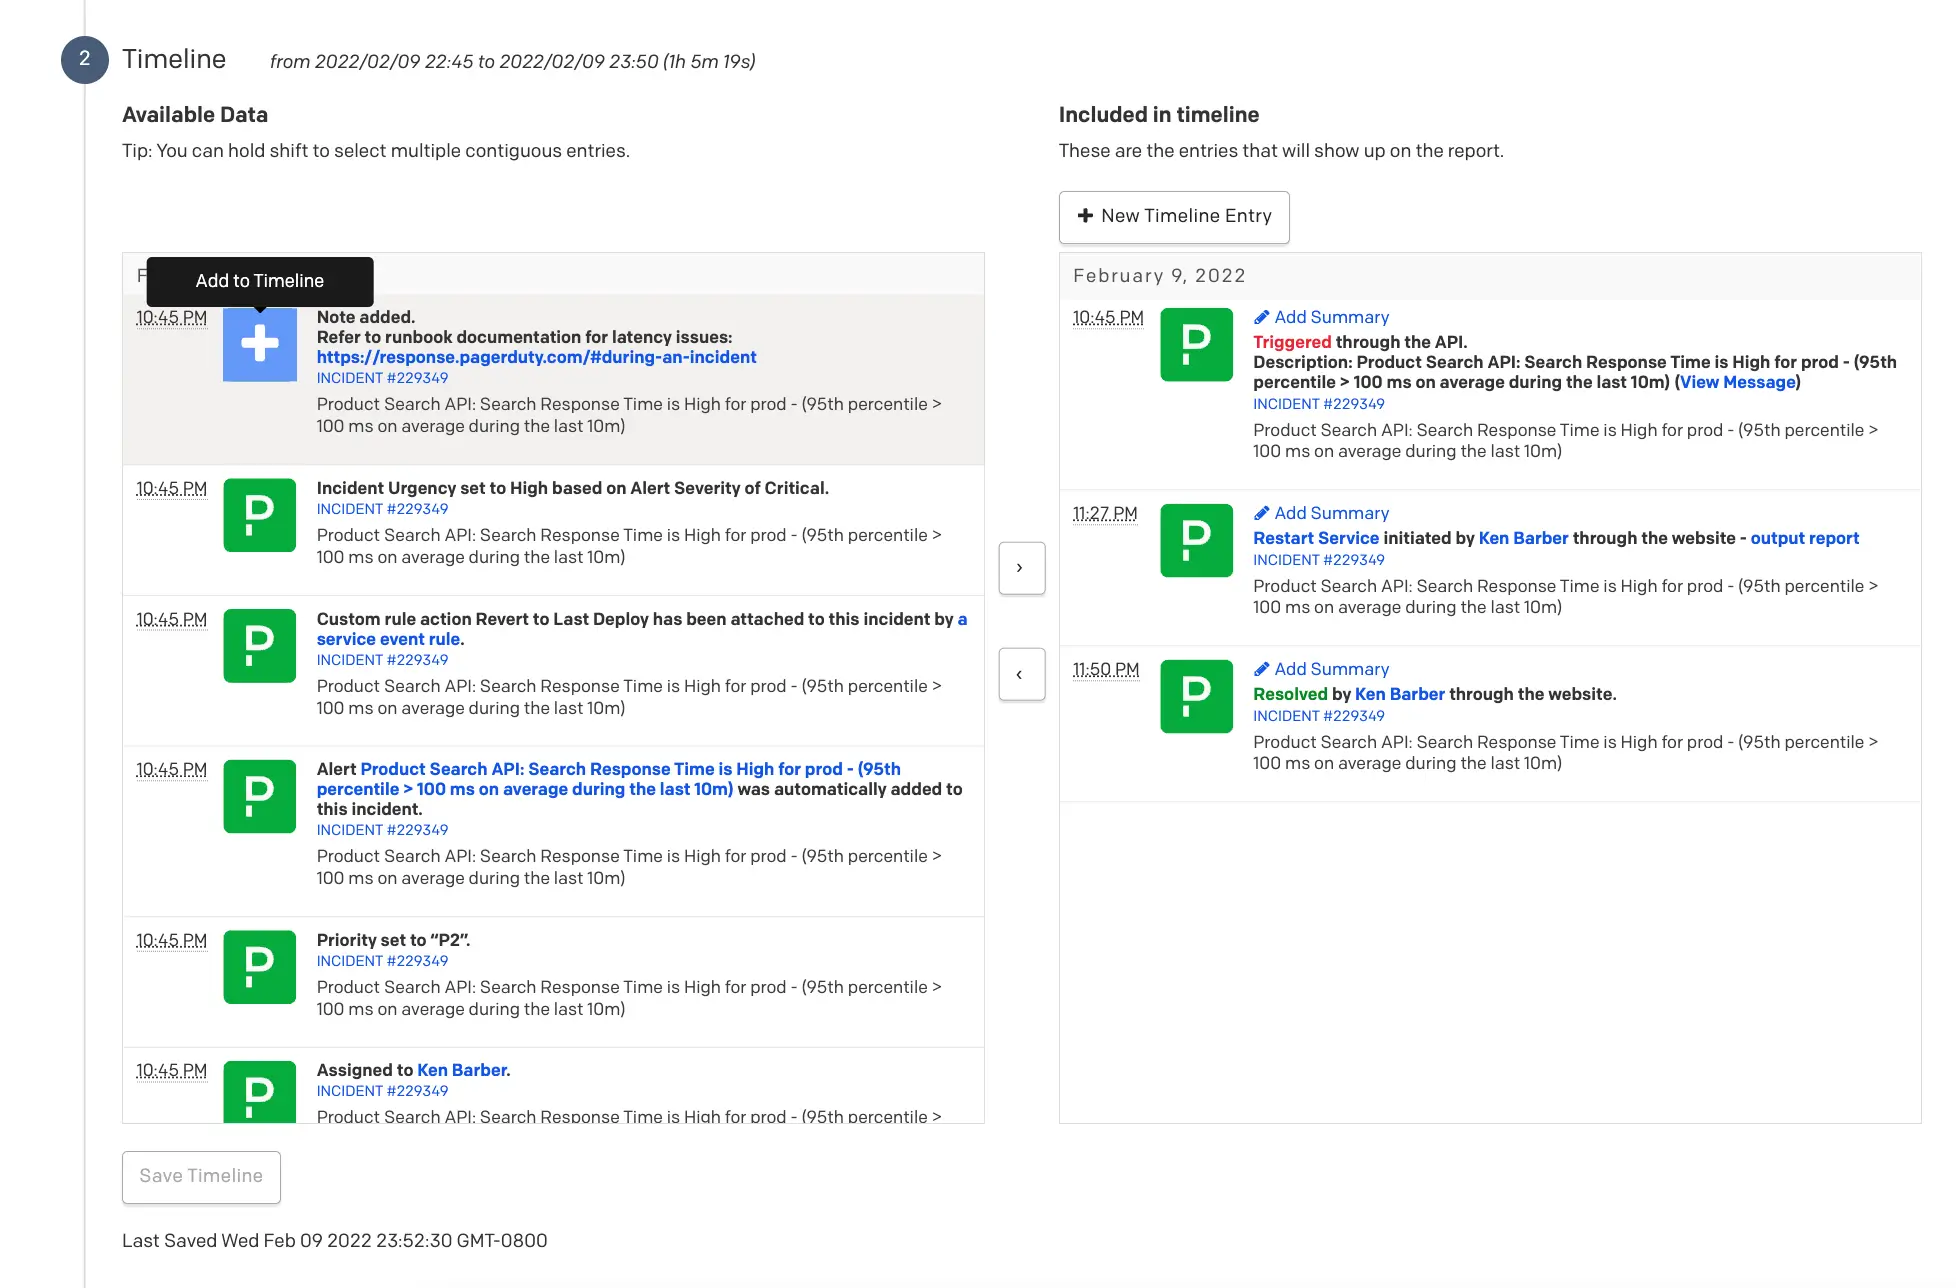
Add to timeline
- To remove an event from the timeline: Select the event and click , or click to the left of the event.
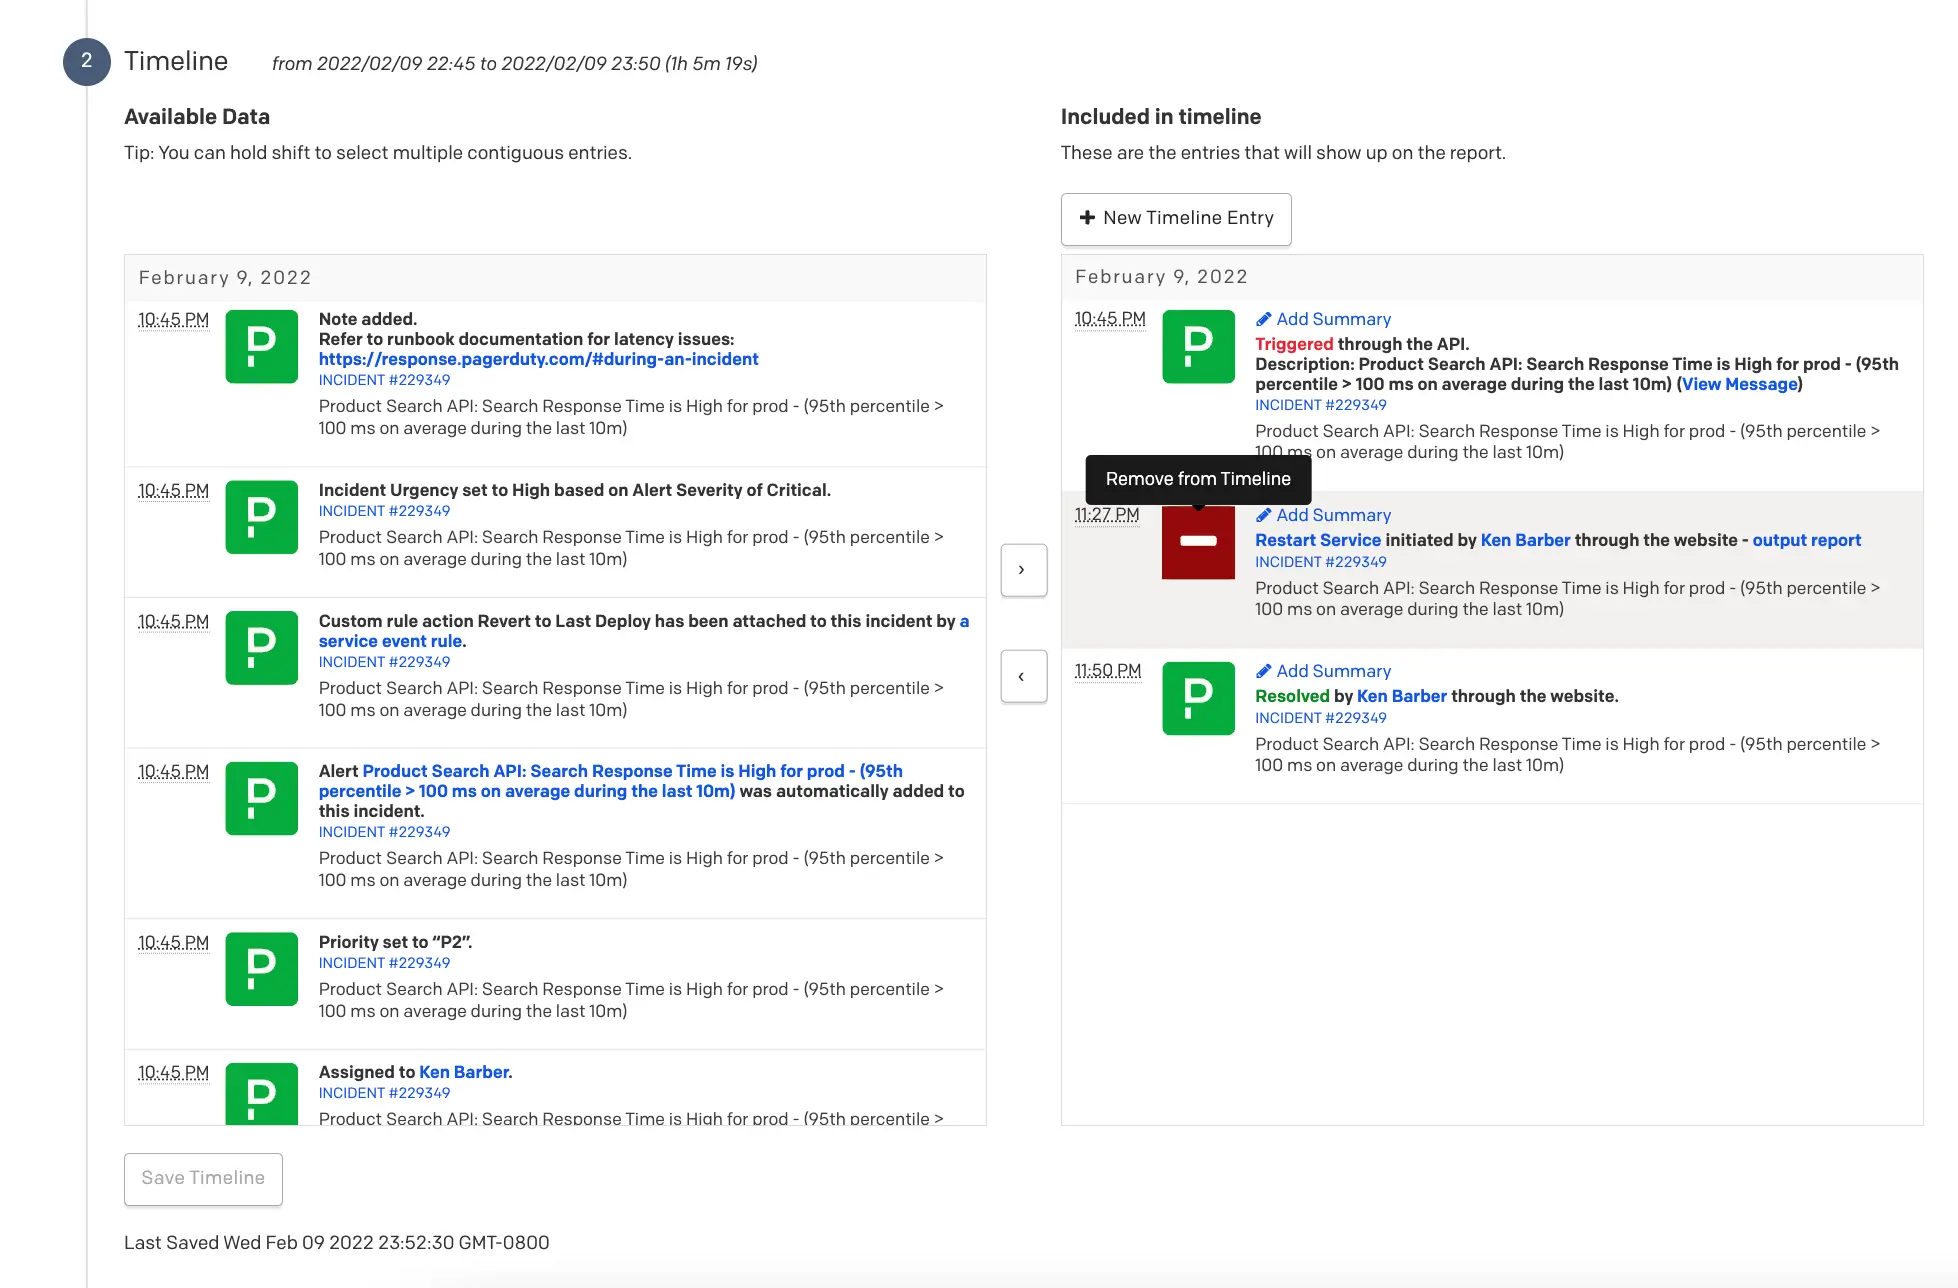
Remove from timeline
Click Save Timeline to proceed.
- Once you have completed and reviewed your report, click Save & View Report.
Edit a Postmortem
- Navigate to Incidents Postmortems and select Edit to the right of your desired postmortem, or select the postmortem's Name and click Edit Report.
- Edit the postmortem's details as needed and click Save & View Report.
Delete a Postmortem
Permanent DeletionDeleting a postmortem is permanent and cannot be undone.
- Navigate to Incidents Postmortems and select Delete to the right of the postmortem you want to delete, or select the postmortem's Name and select Delete.
- In the confirmation dialog, click Delete.
Export a Postmortem
Once you have completed your postmortem report, you can export it as a PDF.
- Navigate to Incidents Postmortems and select your desired postmortem's Name.
- Click Save as PDF.
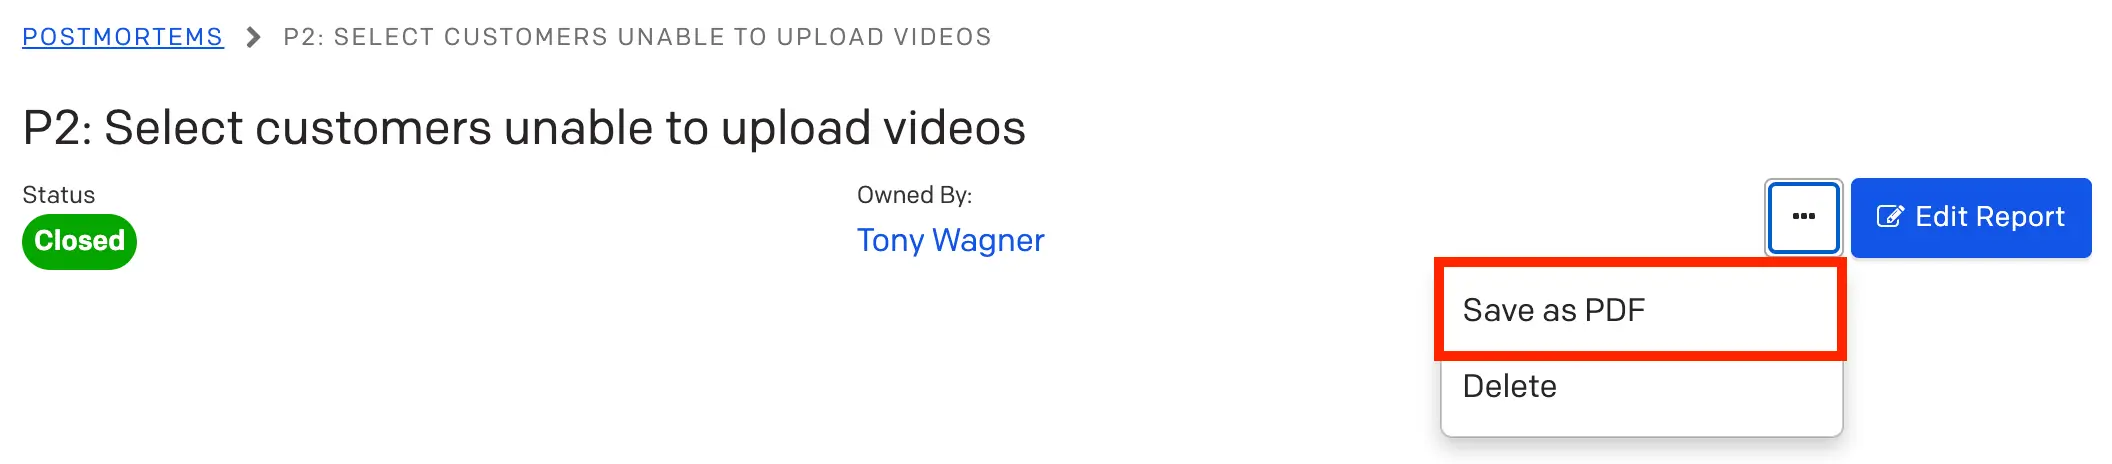
Save as PDF
Customize the Postmortem Template
You can customize your postmortem report by adding or removing sections that apply to your team's specific use case.
Customize the Postmortem template
- Navigate to Incidents Postmortems and select the Settings tab.
- Complete one or more of the following:
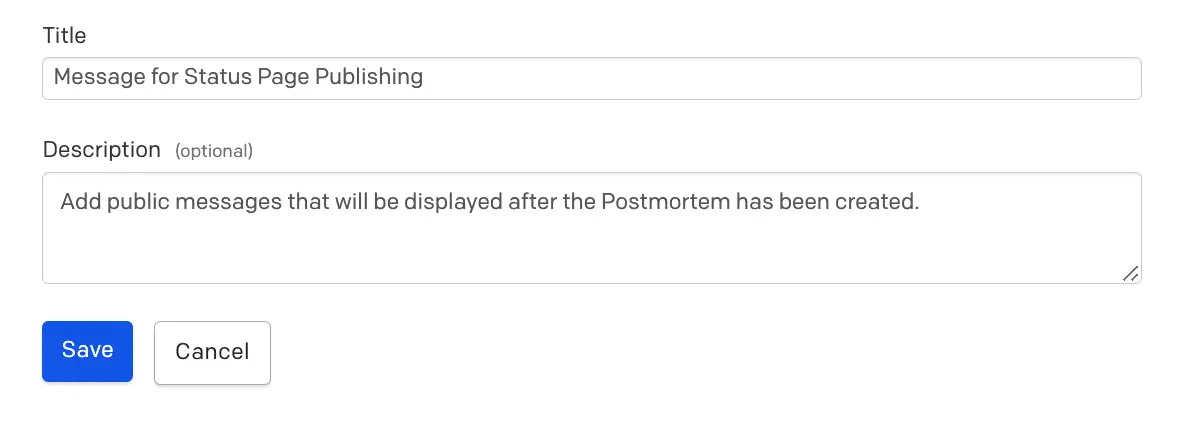
- To add a new section: Scroll to the default New Section, click on the right, and select Edit Section. Enter a new section Title and Description, then click Save. To add additional sections, click Add Section at the bottom of the page.
- To edit an existing section: Click to the right of the section and select Edit Section. Make any edits and click Save.
- To delete a section: Click to the right of the section and select Delete. In the confirmation dialog, click Yes, Delete Section.
Reset the Postmortem Template
You can reset your postmortem template to the default sections if needed.
Resetting TemplatesResetting your Report Template to default only affects future postmortem reports. Existing reports are not affected.
- Navigate to Incidents Postmortems and select the Settings tab.
- Click Reset Template at the top of your Report Template. In the confirmation dialog, click Yes, Reset Template.
FAQ
How can I change the Slack user associated with Postmortems?
To change the associated Slack user account, revoke and replace the current Slack authentication for the Postmortems feature only.
Slack User LimitationsIt is not currently possible to choose more than one Slack user specifically for the Postmortems feature.
- Within your Slack user account, access the My Authorizations section in the Slack API.
- Locate the PagerDuty Postmortems app under the Application & Scopes column.
- Click to the right of the PagerDuty Postmortems app to remove it from your chosen Slack user account.
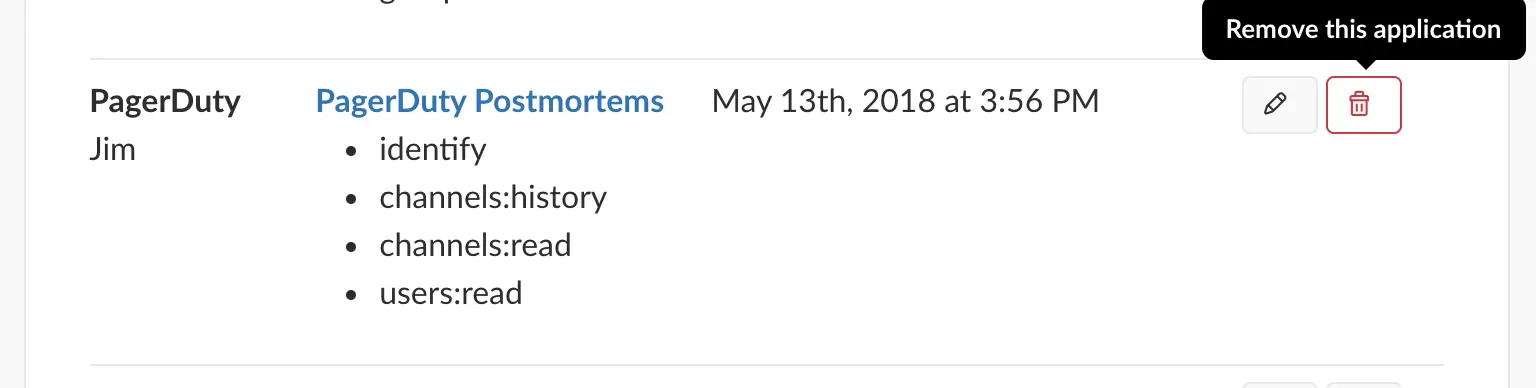
Remove PagerDuty Postmortems app
- While editing a postmortem in PagerDuty, click Connect to Slack under the Data Sources section to authenticate a different Slack user account.
Is it possible to add images or documents to a postmortem?
You can insert an external link or URL in any postmortem field that hosts the image or document externally. Insert the link or URL into the section text, timeline entry summary, or the description of a manual timeline entry. When the link or URL is clicked, the image or document opens in a new tab. It is not currently possible to insert an image directly into a postmortem.
Updated 27 days ago